To custom-build a 2-piece fishing rod, select a blank, find the spine on both sections, fit a ferrule, then mount the reel seat, handle, and guides before finishing with epoxy.
A 2-piece build differs from a one-piece build because both sections need spine alignment separately. You also wrap the male and female ferrule ends to keep the joint solid under hard use.
This process rewards you with a rod built to your exact specs. Read on to learn every step from picking the right blank to laying down the final epoxy coat.
Why Build a Custom 2-Piece Fishing Rod
Building your own rod puts every decision in your hands. It is one of the most rewarding projects a serious angler can tackle at home without a big budget.
Cost Savings vs Buying a Finished Rod
A custom rod built from raw parts often costs far less than a comparable store-bought model. You pay for components, not brand markup. Buying blanks and hardware separately stretches your money much further overall.
Full Control Over Action, Power, and Components
Every part is your choice when you custom-build a 2-piece fishing rod. You select the action, guide style, handle length, and reel seat type. No factory rod matches a build made for your specific fishing needs.
The Satisfaction of Fishing with a Rod You Built
Landing a fish on a rod you built from scratch feels completely different from using a store-bought one. Many builders say it deepens their connection to the whole fishing experience noticeably every single trip.
Portability Advantages of a 2-Piece Design
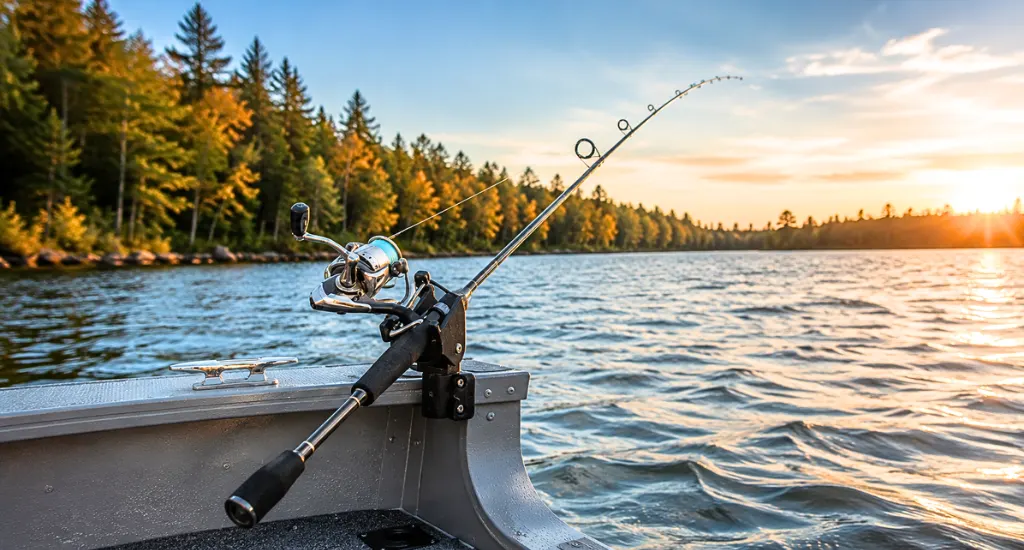
A 2-piece rod breaks down into two compact sections for easy transport. It fits into a travel bag or car trunk without trouble. You get full rod performance with the convenience of a smaller carry size.
Tools and Materials You Need to Build a 2-Piece Fishing Rod
Gathering everything before you start saves real time and prevents interruptions. Having all parts and tools on hand means you move through each build stage without stopping to search.
- Rod blank: A 2-piece blank matched to your target species and fishing style.
- Ferrule set: Male and female sections for joining the two blank pieces cleanly.
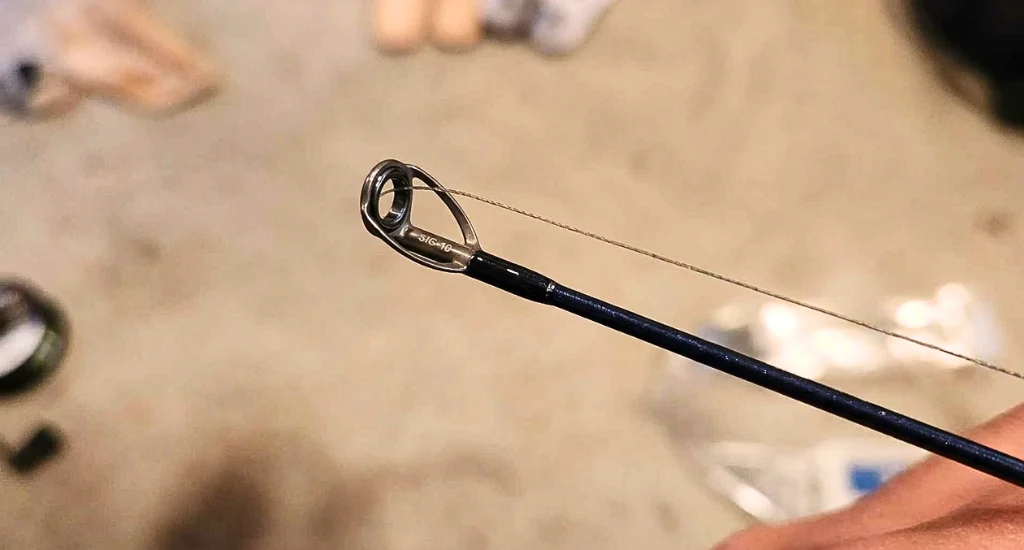
- Guides and tip top: Sized correctly for your blank diameter and chosen line type.
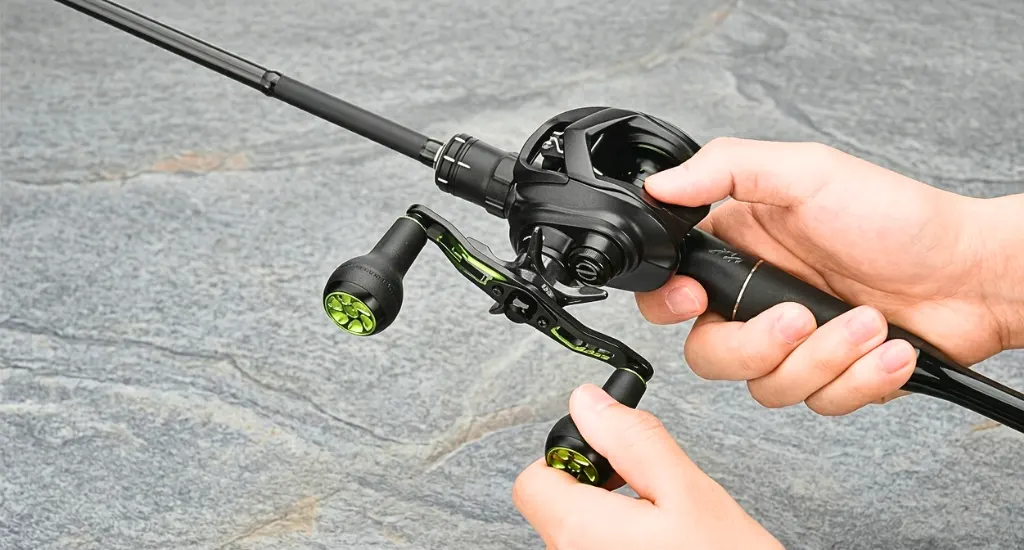
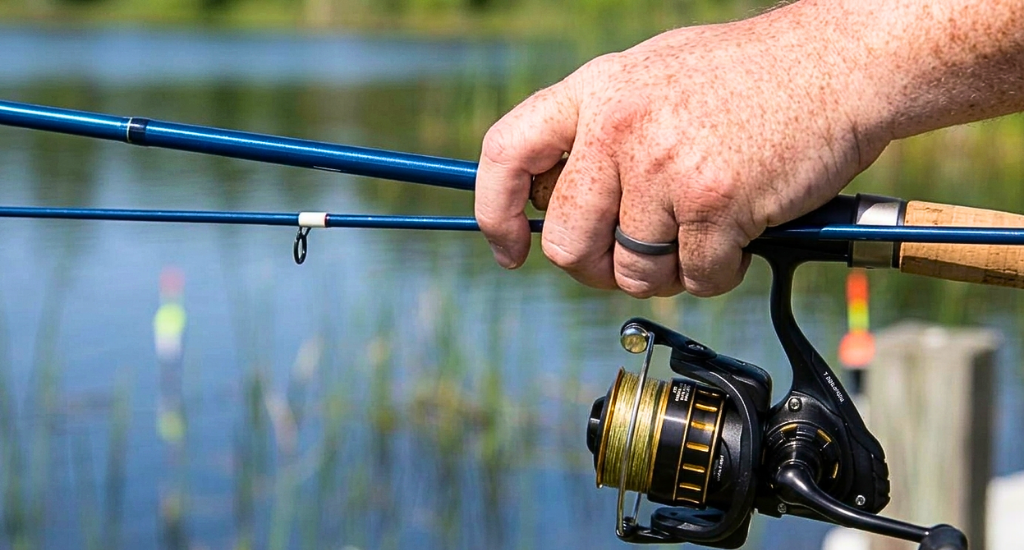
- Reel seat: Matched to your reel type, either spinning or baitcast style.
- Cork or EVA handle: Cork gives a classic feel; EVA is tougher and easier to maintain.
- Rod wrapping thread: Size A or D thread works well for most standard guide wraps.
- Two-part epoxy finish: Coats thread wraps and seals them against moisture and wear.
- Mixing cups and brushes: Disposable tools for applying thin, even epoxy coats cleanly.
- Rod drying motor: Rotates the rod slowly while the epoxy cures to stop drips from forming.
- Rod building stand: Holds the blank steady while wrapping guides and fitting components.
How to Choose the Right Blank for Your 2-Piece Rod
The blank is the foundation of your entire build. Getting this choice right determines how your finished rod casts, feels, and performs out on the water every time.
Understanding Rod Action and Power Ratings
Action describes where the blank bends under load. Fast action bends near the tip, while slow action bends further down. Power ratings like light, medium, and heavy tell you how much force the rod handles before reaching its limit.
Graphite vs Fiberglass vs Composite Blanks
Graphite is light and sensitive, making it great for fast-action finesse builds. Fiberglass is heavier but more durable under pressure. Composite blanks blend both materials and offer a useful balance of sensitivity and toughness across different fishing situations.
Matching Blank Length and Taper to Your Fishing Style
Longer blanks cast farther, while shorter blanks give better accuracy in tight spaces. A faster taper suits lure fishing and sharp hooksets. A slower taper handles live bait and absorbs runs from bigger fish much more smoothly.
Where to Buy Quality Rod Blanks
Mud Hole Custom Tackle is a go-to supplier for rod builders at all levels. They stock blanks and kits and offer beginner classes. Pacific Bay and American Tackle are also reliable sources for quality components at fair prices.
Step-by-Step: Building Your Custom 2-Piece Fishing Rod
Working through each step in order keeps the build clean and manageable. Let every material cure fully before moving forward, so nothing shifts or fails during the final assembly stage.
Step 1: Find the Spine of Both Sections
Roll each blank section on a flat surface under light pressure. The blank naturally rotates toward its stiffest side, which is the spine. Mark both spines with masking tape before doing anything else.
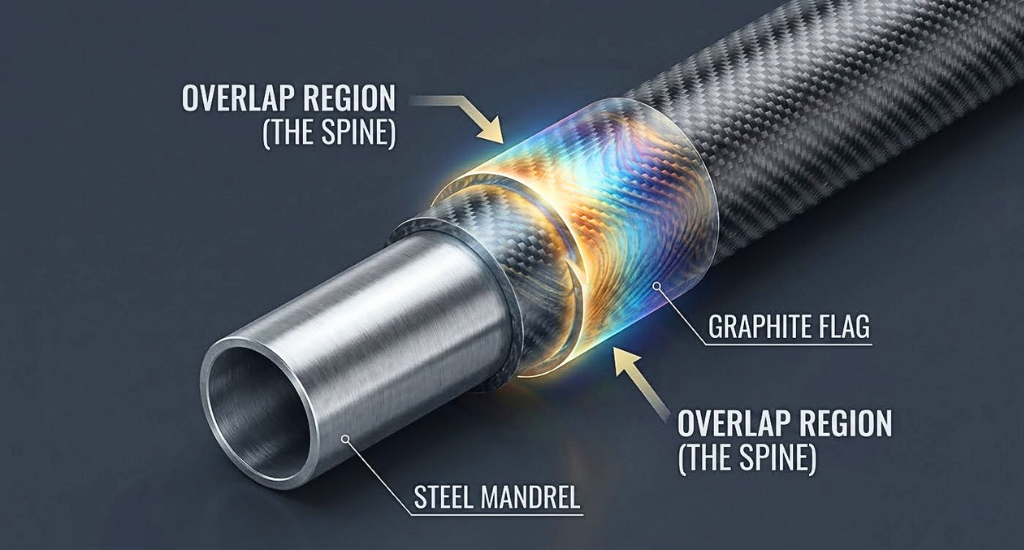
For a 2-piece build, both sections need spine alignment separately before assembly. Aligning guides to the spine improves casting performance and keeps the rod feeling balanced during a full day of fishing.
Step 2: Fit the Ferrule and Join the Sections
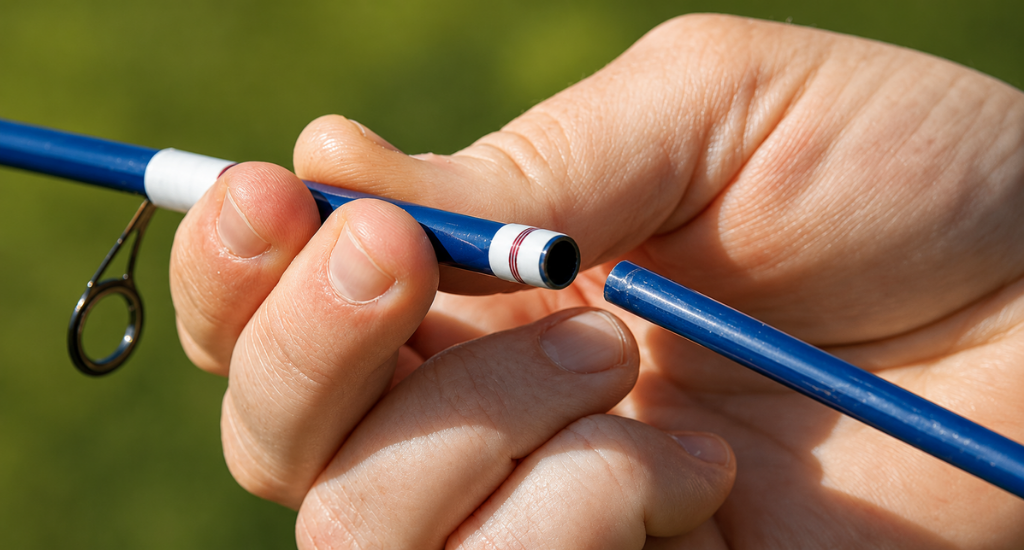
Cut the blank at the join point and fit the ferrule for a snug connection between both sections. The male end must slide into the female end firmly without any wobble or side play.
Wrap the female section about half an inch and the male section about a quarter inch with thread. Coat both wraps with epoxy and cure fully before assembly. These wraps reinforce the joint against hard casts and fish pressure.
Step 3: Install the Reel Seat and Handle
Position the reel seat where it feels natural in your grip and build up the blank with tape or arbors if needed. A loose reel seat will shift under use, so a firm epoxy bond is essential here.
Attach the cork or EVA handle sections above and below the reel seat. An open or closed face fishing reel both seat correctly when the reel seat is properly sized and firmly mounted on the blank.
Step 4: Space and Wrap the Guides
Mark guide positions using a spacing chart and tape all guides in place before any permanent wraps. Check alignment by sighting down the blank from the butt end before committing to thread wraps.
Wrap each guide foot tightly using a rod-building stand to hold the blank steady. Keep thread tension even throughout every wrap so the thread lies flat and smooth across the full guide foot length.
Step 5: Apply the Epoxy Finish
Mix two-part epoxy and brush a thin coat over each thread wrap. Work the epoxy fully into the thread so no dry spots remain. Dry spots weaken the wrap and allow moisture in over time.
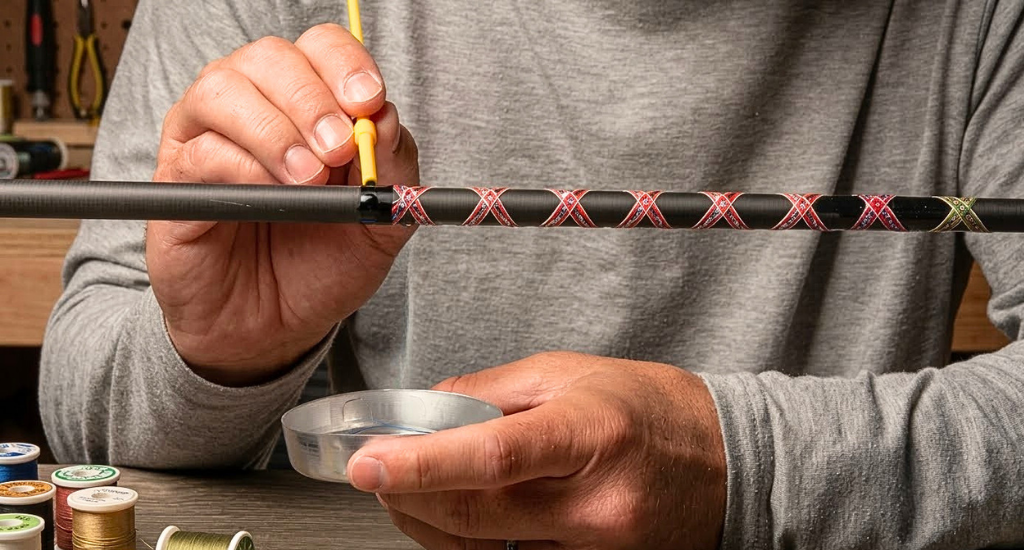
Set the rod on a drying motor and let it rotate overnight while the epoxy cures. Apply a second thin coat once the first is fully dry. Two coats give a smooth, durable finish on every guide wrap.
Tips for Finishing and Maintaining Your Custom Rod
A good finish protects years of build work. These simple habits keep your custom rod in top shape and save you from having to rewrap or replace components ahead of schedule.
Curing the Epoxy Correctly
Let epoxy cure at room temperature in a dust-free area for at least 24 hours. Rushing this step causes soft spots that scratch and peel quickly. A slow-turning rod dryer produces the smoothest, most bubble-free finish every time.
Checking Guide Alignment After Finishing
Sight down the rod from butt to tip after the epoxy cures to check that all guides line up straight. A small misalignment causes friction during casting and reduces distance. Fix alignment before the final coat whenever possible.
How to Care for a Custom-Built Rod
Rinse the rod with warm water after every trip and wipe it down with a soft cloth. This is the same approach you use to fix a fishing rod at home after regular fishing. Inspect wraps for cracks or lifting each season.
When to Rewrap or Replace Components
Rewrap a guide when the thread shows fraying or the epoxy coat has lifted from the surface. Replace any guide with a chipped or grooved insert immediately. A damaged insert causes serious line wear on every single cast you make.
Conclusion
Building a 2-piece rod comes down to five steps: find the spine, fit the ferrule, mount the handle and reel seat, wrap the guides, and finish with epoxy. Start with a simple medium-action blank to keep the first build manageable and enjoyable.
A well-built custom rod outperforms many store-bought options at the same price point. Take your time, follow each step carefully, and you will end up with a rod that fits your style and lasts many fishing seasons.
FAQs
How long does it take to build a custom fishing rod?
Most builds take 8 to 15 hours spread across several days. The majority of that time is waiting for the epoxy to cure between steps rather than active hands-on work at the bench.
Is building your own fishing rod cheaper than buying one?
Yes, in most cases. A quality hand-built rod costs less than a comparable factory model. Savings increase even further when you already own tools from a previous build project.
Do you need special tools to build a fishing rod at home?
You need a wrapping stand, a drying motor, and basic epoxy supplies. Mud Hole and similar suppliers sell all-in-one kits that include every tool needed to complete a first rod build.
How do you join two rod sections with a ferrule?
Fit the male end into the female end and align both spines. Wrap the female end half an inch and the male a quarter inch with thread. Coat both wraps with epoxy and cure fully before use.