A broken rod tip does not always mean you need a new rod. In most cases, you can repair fishing rod tip damage at home with a replacement tip, some hot melt glue, and about ten minutes of your time.
The confusing part is figuring out whether your tip needs a full replacement or just a quick fix. Most beginners assume a broken tip means the rod is done, which is rarely true. Knowing how to handle fishing rod tip repair saves money and gets you back on the water faster than ordering a replacement rod.
This guide covers everything from diagnosing the problem to finishing the repair correctly. Read through each section before starting, so you know exactly what you are dealing with before touching anything.
Signs Your Fishing Rod Tip Needs Repair
Catching a problem early makes the repair simpler and prevents further damage to the rod blank. A damaged tip affects casting distance, line control, and sensitivity, so it is worth checking your rod regularly.
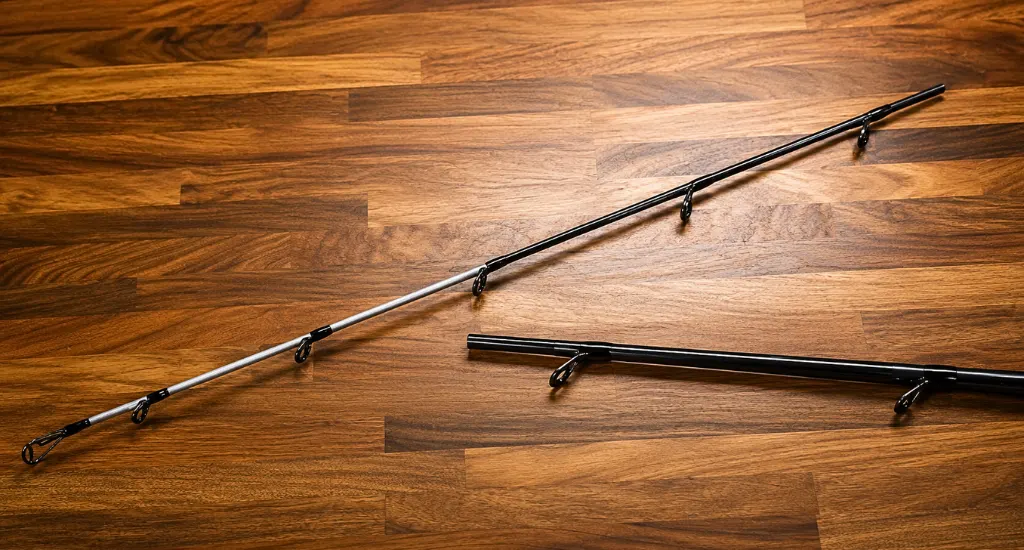
Learning to spot these issues is the first step in how to repair fishing rod tip damage and handling basic fishing rod handle repair before things get worse.
- Bent tip top: The tip top sits at an angle instead of lining up with the rest of the guides, which throws off casting accuracy and puts uneven pressure on the line
- Cracked guide ring: A crack in the ceramic or metal ring inside a guide frays the line over time and eventually causes breakoffs at the worst possible moment
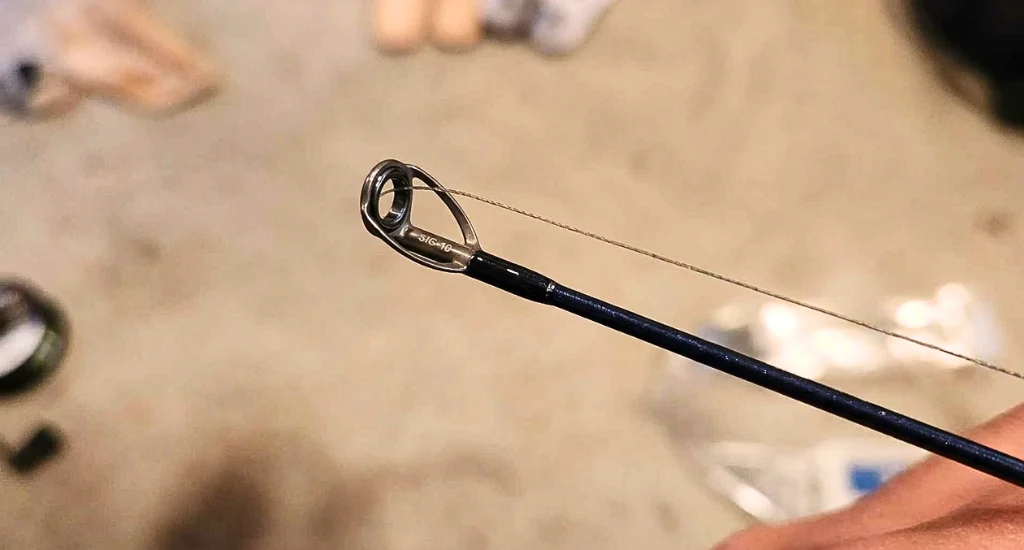
- Loose tip top: The tip top wiggles or rotates when you apply light pressure, usually because the original adhesive dried out or the bond weakened after heavy use
- Snapped rod tip: A clean or jagged break somewhere along the top section of the rod, often caused by a car door, a hard impact, or storing the rod under pressure
- Frayed fishing line caused by damaged guides: If your line shows nicks or fraying after a trip, run a cotton ball along each guide and tip top to find where it is catching
How to Repair Fishing Rod Tip: Step-by-Step Guide
Most rod tip repairs take less than fifteen minutes once you have the right materials in front of you. Following each step in order gives you a clean result and a tip that holds up through real fishing.
This covers the full process to fix a broken fishing rod tip using basic tools, and these fishing rod repair tips keep the job straightforward.
Step 1: Remove the Damaged Tip
Hold a lighter or heat gun a few inches below the tip top and apply gentle heat for about ten seconds. The adhesive softens quickly, so you do not need to hold the flame there long. Use pliers to twist and pull the tip top off once the glue loosens. Avoid gripping the blank with the pliers directly.
Step 2: Clean and Prepare the Rod Blank
Use a rag or cloth to wipe away any old glue while it is still warm and soft. If any residue remains after it cools, scrape it off carefully or sand the tip lightly with fine-grit sandpaper. The blank needs to be clean and smooth before the new tip goes on.
Step 3: Choose the Correct Replacement Tip
Use a tip-top sizing gauge or a set of calipers to measure the outer diameter of the rod blank at the tip.
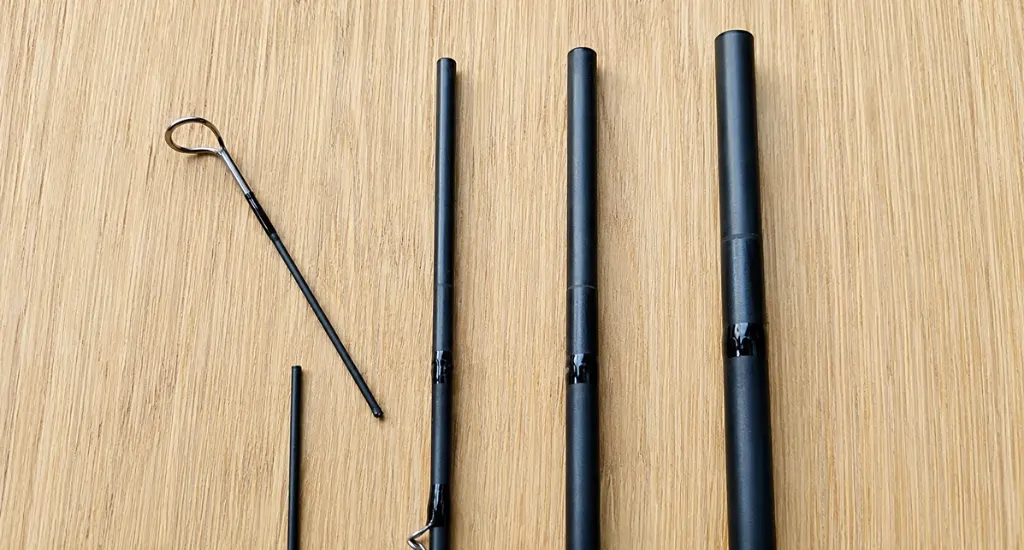
The tube diameter sizes replacement tips, so matching that measurement matters. A tip that fits too loosely will not bond well, and one that is too tight will crack the blank when pressed on.
Step 4: Glue and Install the New Tip
Apply a small amount of hot-melt glue or rod tip adhesive into the tube of the replacement tip. Slide it onto the blank while the glue is still warm and rotate it gently to spread the adhesive evenly.
Line the new tip up with the rest of the guides visually before the glue sets. Hold it in place for thirty seconds.
Step 5: Test the Repair
Sight down the rod from the handle end and confirm the tip top aligns with every guide below it. Pull the line through and check that it moves freely without catching. Make a few soft practice casts in an open area to confirm the tip holds under a light load before trusting it on a full fishing trip.
Can You Repair a Broken Fishing Rod Tip Instead of Replacing It?
Replacing the tip top and repairing an actual break in the rod are two different things. A snapped blank a few inches from the tip does not always require a new rod, and a fishing rod tip repair kit can handle more than most people expect.
Understanding the difference matters regardless of the types of fishing rods you own, since the repair process works similarly across spinning, baitcasting, and fly rods.
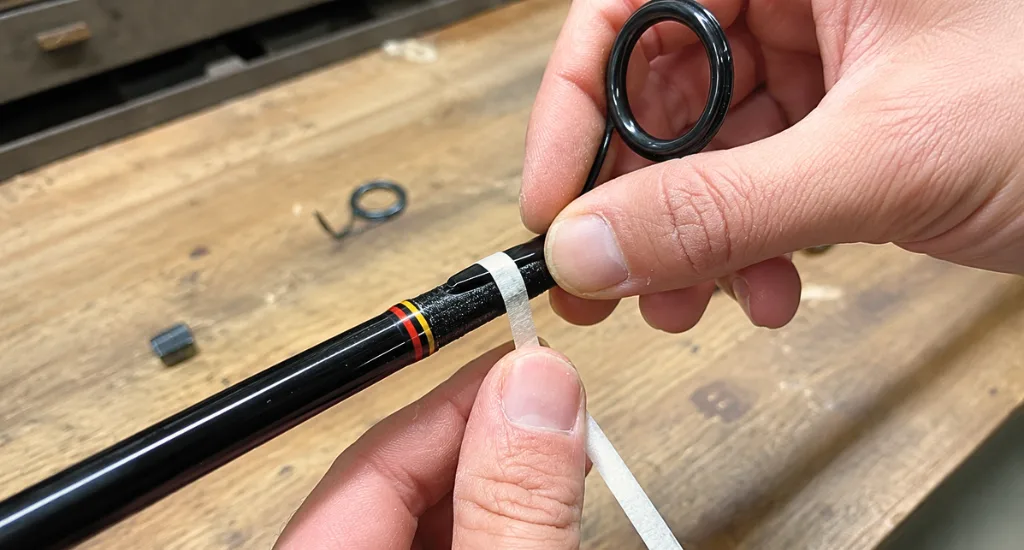
Small breaks near the tip can often be repaired well enough to fish again. Here is how the process works:
- Slide a small metal pin or thick needle into the hollow section of both broken pieces to act as an internal support
- Apply super glue around the break and press the two sections together firmly
- Let the glue cure completely before handling the rod further
- Wrap the repaired section tightly with rod wrapping thread, covering at least an inch on each side of the break
- Coat the thread wrap with rod epoxy finish and let it cure for the full time listed on the product
The rod’s action will change slightly after this repair. The section around the break becomes stiffer, which shortens the effective flex of the tip. For most casual fishing, this is not a serious issue, but tournament anglers or anyone fishing very light finesse techniques will notice the difference.
When replacement is better than repair:
- The break is jagged, or the blank has splintered rather than snapped cleanly
- The break sits more than a few inches from the tip, where action matters more
- The repaired section feels noticeably stiff compared to the rest of the rod
When the entire rod should be replaced:
- Multiple guides are damaged, or the blank has deep cracks running along its length
- The rod blank has been bent or kinked, which weakens the structure permanently
- Repair costs approach what a comparable replacement rod would cost
Common Mistakes When Repairing a Fishing Rod Tip
Rushing through a rod tip repair leads to problems that show up later on the water. Most errors are easy to avoid once you know what to watch for.
Whether you are trying to repair broken fishing rod tip damage at home or looking to eventually hang a fishing pole on the wall as a display piece, getting the repair right the first time is always worth the extra few minutes.
Overheating the Blank
Holding heat too close or too long softens the graphite or fiberglass blank itself, not just the glue. This weakens the structure at the tip and creates a soft spot that breaks under normal casting pressure later on.
Using Excessive Glue
More glue does not mean a stronger bond. Too much adhesive squeezes out around the tip, creates an uneven surface, and makes future repairs much harder to clean up properly.
Misaligning the Tip
A tip top that sits even slightly off center changes how the line travels during a cast. Always sight down the rod from the handle before the glue sets and correct the angle while you still can.
Choosing the Wrong Tip Size
A tip top that does not match the blank diameter will either crack the blank during installation or sit loose and spin freely once the glue dries. Always measure before buying a replacement.
Ignoring Hairline Cracks
Small cracks near the tip look harmless but spread under the stress of casting and fish fighting. Catching them early and sealing them with a thin coat of epoxy prevents a minor issue from turning into a full break on the water.
Final Thought
A repair fishing rod tip job is one of the easiest and least expensive fixes in all of fishing gear maintenance. Replacing a tip top takes about ten minutes, and even a snapped blank near the tip can often be salvaged with the right materials and a little patience.
Not every break is worth fixing, and sometimes a new rod makes more sense. But in most cases, knowing how to repair fishing rod tip damage yourself keeps a good rod in your hands and money in your pocket for the things that actually matter on the water.