Rigging a fishing rod means attaching the reel, threading the line through the guides, and connecting your hook or lure so everything works together. For beginners, how to rig a fishing rod for beginners feels overwhelming at first, but the actual process is straightforward once you understand the order of steps and why each one matters.
Most of the confusion comes from not knowing which knot to use, which order to follow, or what gear belongs together. People skip steps, use the wrong line for their rod, or tie a weak knot and lose a fish they worked hard to get.
This guide walks through every step in plain language. Whether you’re picking up a spinning rod for the first time or just need a clear starting point, everything here is written to make sense without any prior experience.
What Does It Mean to Rig a Fishing Rod?
Rigging a fishing rod means setting up all the components so the rod is ready to fish. That includes the reel, line, hook, and any extras like weights or bobbers, depending on how you plan to fish.
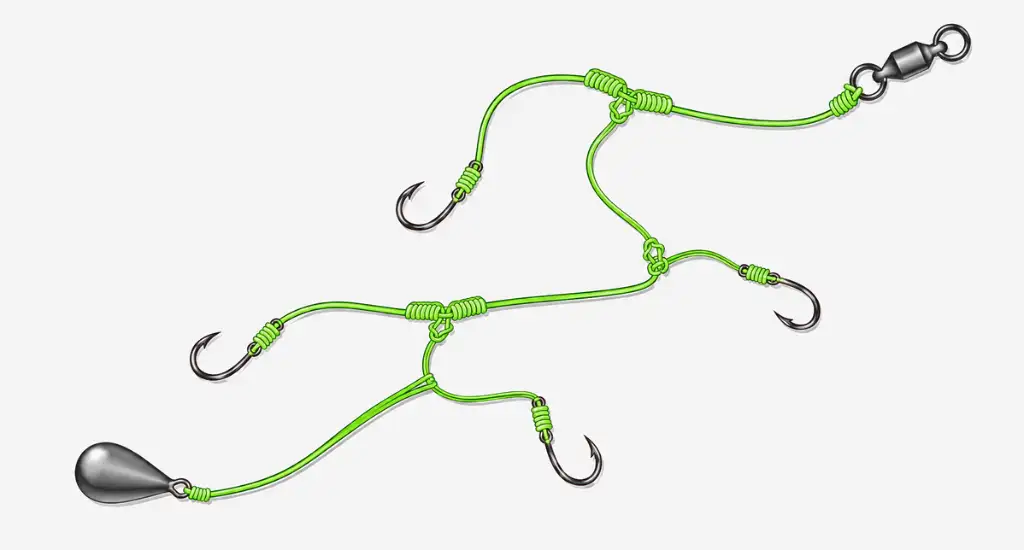
Proper rigging directly affects how far you can cast, how well you feel bites, and how often fish actually stay on the line. A poorly rigged rod loses fish even when everything else goes right.
One thing worth knowing early is the difference between a rod setup and a fishing rig. The rod setup refers to the rod, reel, and line working together. A fishing rig refers to the arrangement of hooks, weights, and other terminal tackle at the end of the line.
Essential Equipment Before You Rig a Fishing Rod
Before you start, having the right gear in front of you makes the whole process much smoother. Getting familiar with the fishing rod guide, including each piece and what it does, saves a lot of back-and-forth once you’re on the water.
- Spinning rod: Lightweight, beginner-friendly, and works with most fishing styles
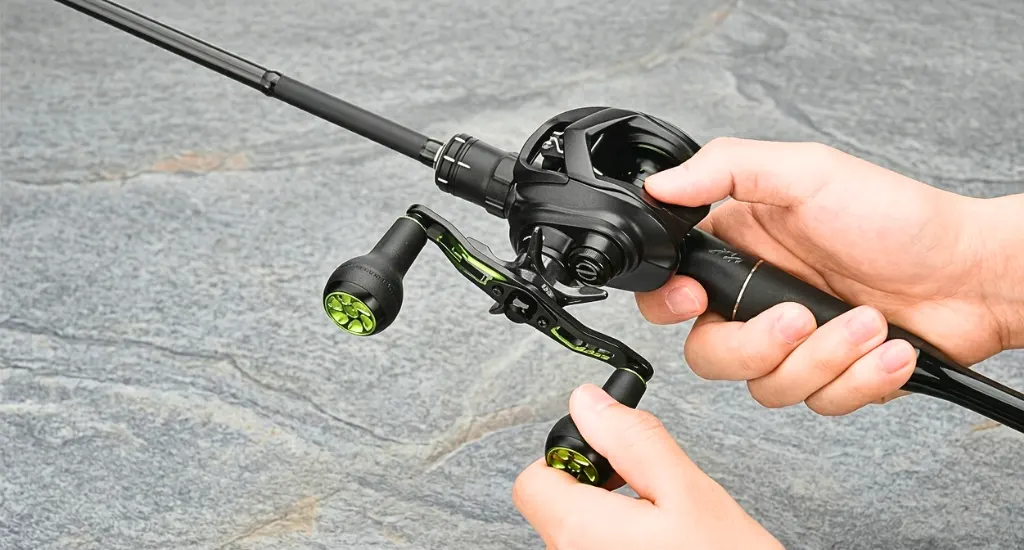
- Baitcasting rod: Built for heavier lures and more precise casting in experienced hands
- Fly rod: Long and flexible, designed specifically for fly fishing presentations
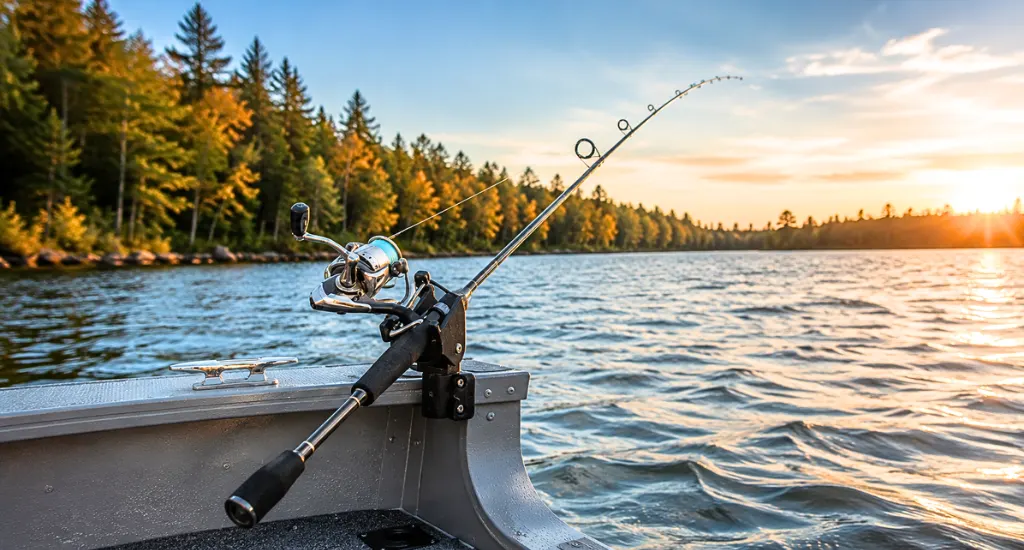
- Spinning reel: Hangs below the rod and is the easiest reel type to learn
- Baitcasting reel: Sits on top and offers more control once you get past the learning curve
- Fly reel: Holds backing and fly line, mostly used for line management during the fight
- Monofilament: Affordable, stretchy, and easy to handle for beginners just starting out
- Fluorocarbon: Nearly invisible underwater and more abrasion-resistant than mono
- Braided line: Very strong for its diameter with zero stretch and excellent sensitivity
- Hooks, Weights, and Floats: Standard hooks, split shot weights, and bobbers cover most beginner setups across freshwater fishing.
- Soft plastics: Versatile and work across most bass and panfish situations
- Crankbaits: Hard lures that dive and wobble to imitate baitfish on the retrieve
- Live bait: Worms, minnows, and crickets that work naturally without any special presentation
How to Rig Fishing Rod Step by Step
Learning how to rig a fishing rod in the right order prevents most of the problems beginners run into. Following these steps once or twice makes the whole process feel natural, and you will move through it quickly every time after that.
Step 1: Attach the Reel to the Rod
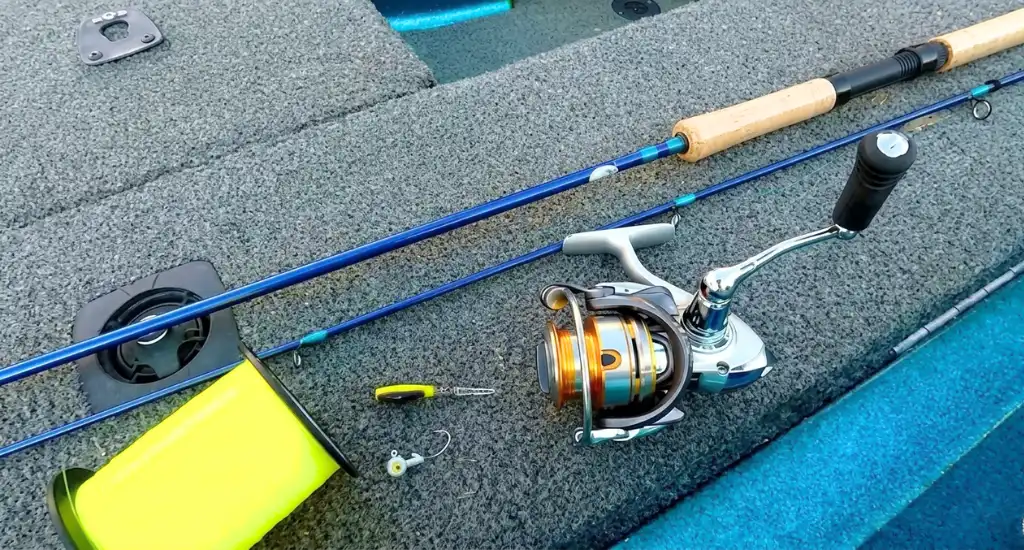
Slide the reel into the reel seat on the rod handle and tighten the locking rings until the reel sits firmly. Give it a gentle tug to make sure nothing shifts. A loose reel throws off balance and causes problems during casting.
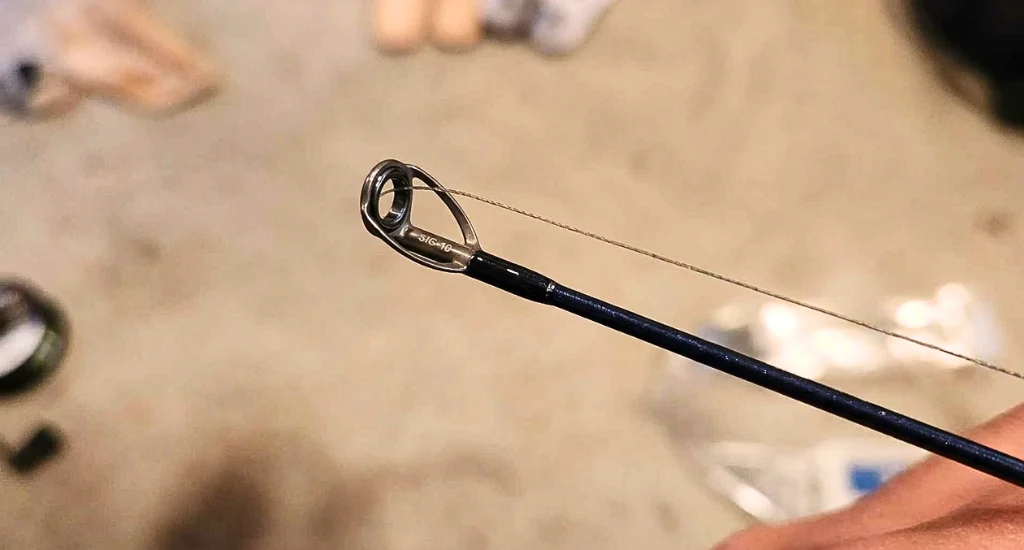
Step 2: Thread the Fishing Line Through the Guides
Open the bail on a spinning reel before you start threading. Begin at the guide closest to the reel and work toward the rod tip, passing the line through each guide in order. Missing even one guide causes the line to tangle or cast poorly.
Step 3: Tie the Hook or Lure
Three knots cover most situations beginners will face:
- Improved clinch knot: Simple and reliable for hooks and small lures
- Palomar knot: Very strong and easy to tie even with cold hands
- Uni knot: Versatile enough for hooks, swivels, and joining two lines
Step 4: Add a Weight or Bobber if Needed
Not every setup needs extra weight, but when you do, placement matters.
- Sliding sinker rigs: Weight slides freely on the line above a swivel, giving fish less resistance
- Split shot rigs: Small pinch weights clamped onto the line above the hook for subtle depth
- Bobber setups: Clip the float above the hook at whatever depth you want the bait to sit
Step 5: Test the Setup
Before casting into the water, run through a quick check.
- Pull the knot firmly to confirm it holds under pressure
- Make sure the line sits evenly on the spool without bunching
- Practice two or three slow casts in an open area to feel how everything moves together
The best size rod for bass fishing in a beginner setup is typically 7 feet, which pairs naturally with the steps above and gives you room to grow into different techniques.
How to Rig a Spinning Rod
A spinning rod is the best starting point for most beginners because the setup is simple and the casting motion is forgiving. Getting the reel and line positioned correctly from the start keeps things running smoothly every time you head out.
How to rig ice fishing rod setups follows the same basic spinning rod process, just on a shorter rod built for the ice.
Attach the Spinning Reel
Slide the reel foot into the reel seat and tighten both locking rings firmly. The reel should face downward when the rod is held in fishing position.
Open the Bail and Thread the Line
Flip the bail arm open, then run the line from the spool through each guide starting closest to the reel. Close the bail once the line reaches the tip.
Tie a Hook or Lure
Use a Palomar or improved clinch knot. Pull the tag end tight and trim any excess line close to the knot.
Close the Bail and Adjust Drag
Close the bail by hand rather than cranking the reel to avoid line twist. Set the drag so it gives line under firm pressure but holds steady on a normal retrieve.
How to Rig a Baitcasting Rod
Baitcasting rods offer more control and power, which is why most experienced bass anglers prefer them for heavier techniques. The setup takes a little more attention than a spinning rod, but the process itself is not complicated.
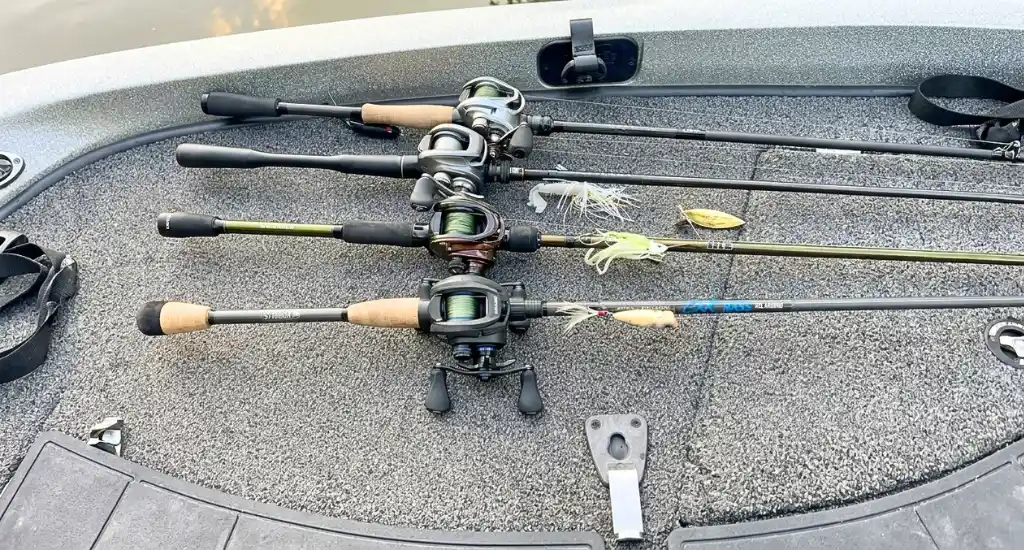
Understanding saltwater vs freshwater fishing rods matters here too, since how to rig a saltwater fishing rod often means using heavier line and corrosion-resistant hardware that holds up in harsher conditions.
Mount the Reel Properly
Set the reel on top of the rod with the handle on your dominant side. Tighten the reel seat until the reel sits completely still with no wobble.
Thread Line Through Guides
Run the line through each guide from bottom to top, starting at the guide nearest the reel and working toward the tip.
Spool the Line Correctly
Feed the line onto the spool under light tension to prevent loose coils that cause backlash. Fill the spool to about an eighth of an inch from the rim.
Tie Your Preferred Lure
A Palomar knot works well for most baitcasting applications and holds under the heavier loads this setup handles.
How to Rig a Fly Fishing Rod
Fly fishing rod setup involves a few extra components that other rod types skip entirely. The process does take more steps, but each connection serves a specific purpose in getting the fly where it needs to go.
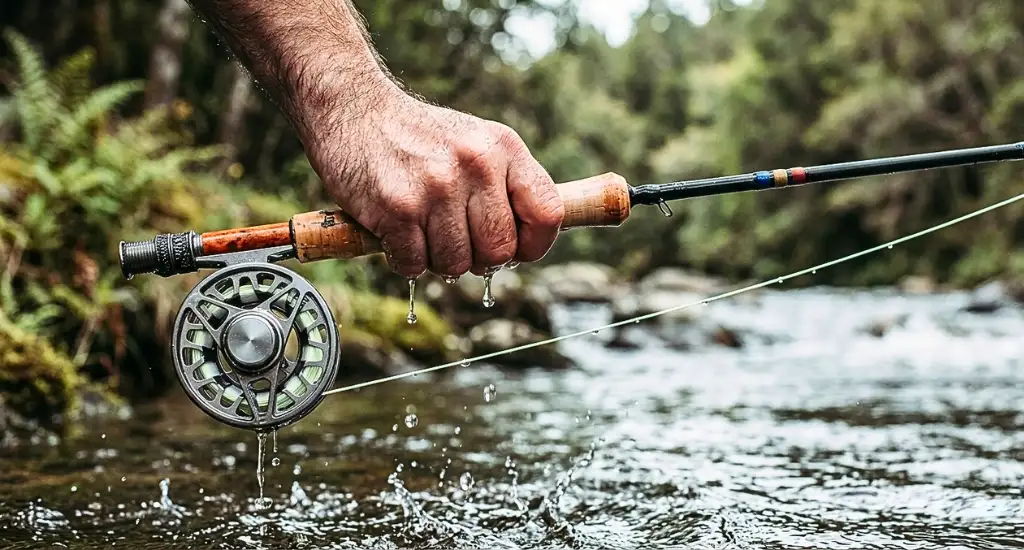
How to rig a surf fishing rod shares some similarities in that both need careful attention to line capacity and knot strength under real fishing pressure.
Connect Backing to the Reel
Tie the backing line directly to the reel arbor using an arbor knot. Spool on enough backing to fill the reel before attaching the fly line.
Attach Fly Line
- Use the pre-molded loop at the end of most modern fly lines
- Connect it to the backing with a loop-to-loop connection for a clean, reliable join
Add Leader and Tippet
Attach a tapered leader to the fly line loop, then add a length of tippet to the thin end of the leader. The tippet is what the fly ties onto.
Tie the Fly
Use a clinch knot or loop knot depending on whether you want the fly to sit fixed or swing freely.
Common Mistakes When Rigging a Fishing Rod
Small rigging errors cost fish more often than most beginners realize. Knowing how to rig a rod for bass fishing and other techniques means avoiding these habits from the start.
- Skipping Line Guides: Missing a guide during threading ruins casting distance and causes unnecessary friction that wears line down faster than normal.
- Tying Weak Knots: A knot that looks fine under light pressure can slip under load. Practice each knot until it holds consistently before trusting it on the water.
- Using the Wrong Hook Size: Hooks that are too large miss small bites entirely, and hooks that are too small fail to hold larger fish through the fight.
- Overloading the Rod with Heavy Weights: Adding more weight than the rod is rated for reduces sensitivity, kills casting accuracy, and puts real stress on the blank over time.
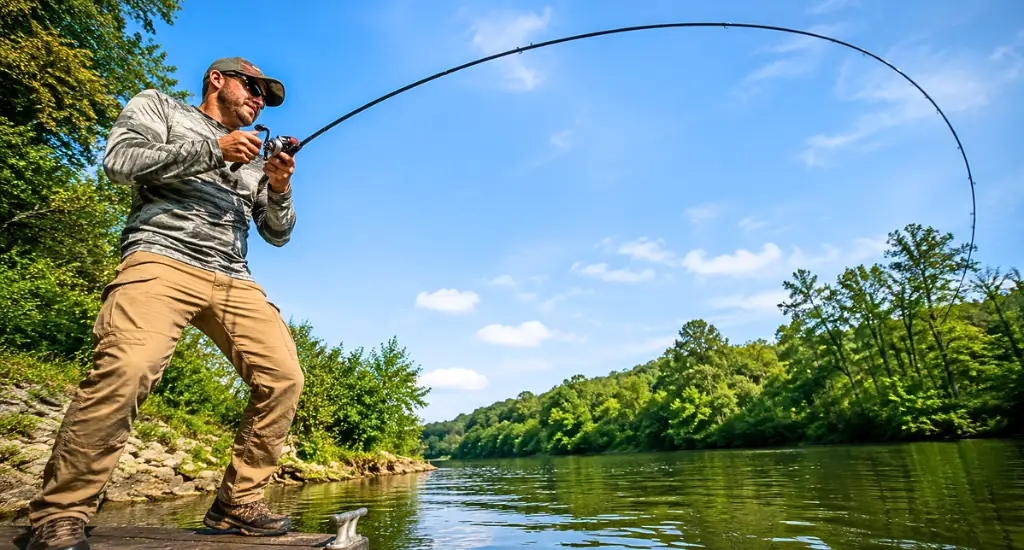
- Ignoring Drag Settings: A drag that is too tight breaks the line on a hard run, and one that is too loose lets fish take line without any real resistance during the fight.
Final Thought
Rigging a fishing rod correctly from the start builds good habits that carry into every fishing situation you face. Each step connects to the next, and getting them right makes the whole experience more enjoyable and more productive on the water.
Take it one step at a time and don’t rush the process. Once you rig your first rod clean, what type of rod for bass fishing or any other species becomes a much easier question to answer.