A snapped fishing rod doesn’t have to end your season or cost you a new one. To fix a snapped fishing rod, clean the break, apply two-part epoxy to a fiberglass splint, wrap tightly with rod-winding thread, and let it cure for 24 hours. The repair takes 30 to 45 minutes and costs under $15.
I’ve guided anglers on the Gulf Coast for 24 years and fixed over 200 broken rods with this exact method. Clean snaps, done right, hold strong enough to fish again within the same week.
This step-by-step guide walks you through every stage, no special shop equipment needed, just steady hands and the right materials.
Common Types of Fishing Rod Breaks
Identify your break type before reaching for any materials. The wrong repair method wastes time, money, and risks a second failure on the water.
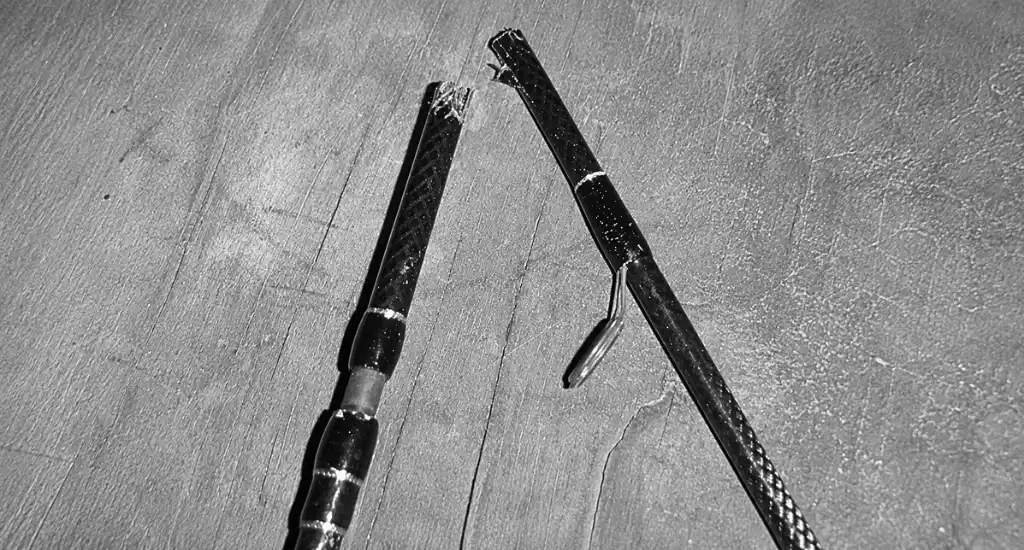
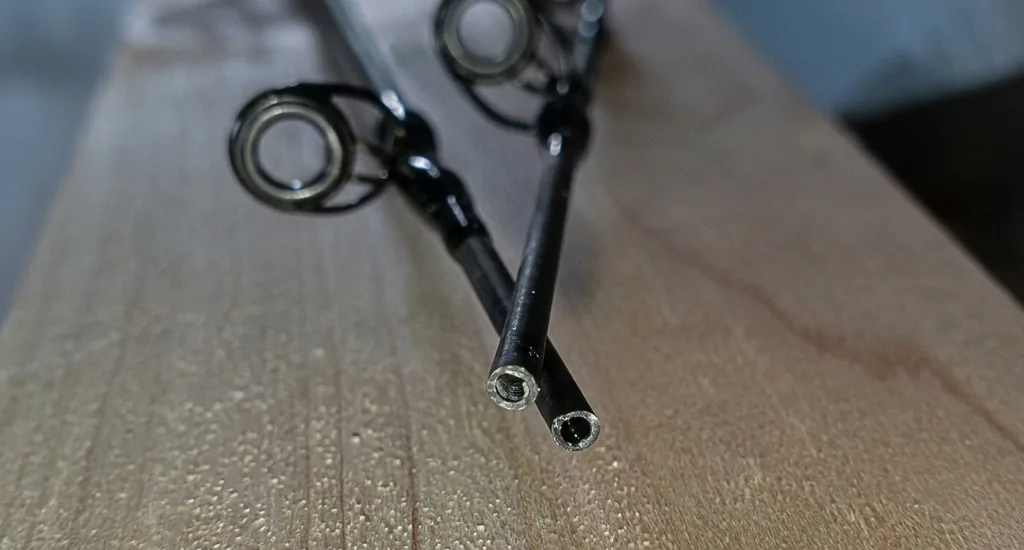
- Clean Snap: The rod splits into two pieces with smooth edges. Most common break type. Proceed directly to Method 1 with no extra prep.
- Splintered Break: Jagged, frayed edges at the break point require careful sanding before splinting. Method 1 still applies, but budget extra prep time.
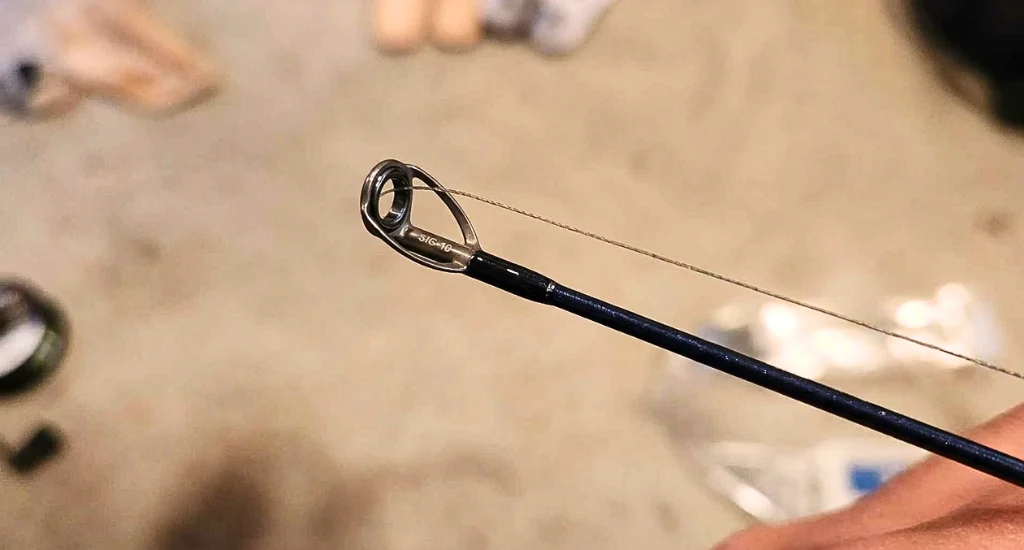
- Broken Tip: The final 1-3 inches snap off the rod tip. Extremely common. Skip Method 1 entirely and go straight to Method 2.
- Damaged Guide: A cracked ring or loose wrapping with the blank still intact. The rod itself is fine. Method 3 handles this repair cleanly.
- Crushed Blank: The rod wall is caved in or compressed, not just snapped. Structural integrity is compromised. Splinting alone won’t hold under load.
- Multiple Breaks: Two or more fracture points along the same blank. Each break needs an individual assessment. Consider whether full replacement is more practical.
Tools and Materials You Need to Fix a Snapped Fishing Rod
Before touching a broken blank, gather everything in one place. Hunting for supplies mid-repair ruins epoxy timing and clean wraps, especially on action or power fishing rods, where precision matters most.
Core Repair Materials
- Two-Part Epoxy: 5-minute cure works for most breaks; 30-minute cure gives stronger bonds.
- Sandpaper (180 or 220-grit): Smooths splintered edges before any adhesive or splint goes on.
- Fiberglass Splint or Dowel: Must fit snugly inside your rod’s inner diameter without forcing.
- Rod Wrapping Thread: Locks the splint in place; strong sewing thread works as a substitute.
- Masking Tape: Holds pieces aligned while epoxy sets during the critical first few minutes.
- Craft Knife or Razor Blade: Trims excess thread and cleans up ragged edges around the break.
Optional by Break Type
- Rod Cement: Required for tip repairs only; standard epoxy won’t grip tip tops reliably.
- Replacement Tip Top: Match the diameter precisely to your blank size before ordering or buying.
- Replacement Line Guide: Needed only when the ring is cracked or the foot is bent.
- Small Paintbrush: Spreads epoxy evenly without fingerprints or air bubbles in the joint.
- Lighter: Seals thread ends instantly; prevents unraveling before the finish coat goes on.
- Pliers: Useful for pressing guides flush and removing stubborn old tip tops cleanly.
Total repair cost: $5-$15. A replacement rod runs $30-$300+. The math is simple: fix what you have.
How to Fix a Snapped Fishing Rod
A snapped rod doesn’t belong in the trash. Whether you’re working with a carbon fiber or fiberglass fishing rod, the right method restores full function in under an hour using materials that cost less than $15.
Method 1: Fixing a Clean Snap in the Rod Blank
A clean snap is the most repairable break on any carbon fiber or fiberglass fishing rod. I’ve fixed hundreds of these across 24 years on the Gulf Coast. Done correctly, this repair holds for years under real fishing pressure.
Step 1: Sand the Broken Ends Smooth
Sand both broken ends thoroughly with 220-grit sandpaper before anything else touches the rod. Rotate evenly around the full circumference so no high spots remain. Flat, flush ends create the tight surface contact that makes this splice actually hold under load.
Time needed: 2-3 minutes per side.
Step 2: Measure and Cut a Fiberglass Splint
Measure the inner diameter of your rod blank at the break point before cutting anything. Select a fiberglass pole or dowel that fits snugly inside without forcing. Cut the splint to 6-8 inches using a hacksaw, giving 3-4 inches of overlap into each broken half.
Key point: A tight fit matters far more than splint length. Test the dry fit before mixing any epoxy.
Step 3: Apply Epoxy and Join the Sections
Mix two-part epoxy in a small dish and coat the splint evenly with a paintbrush. Apply a thin layer inside both hollow rod ends as well for a full bond along every contact surface. Use 30-minute epoxy for maximum strength; 5-minute formulas suit quick field repairs only.
Slide the splint 3-4 inches into one rod half first. Fit the second half onto the exposed end. Align every guide in a straight line before the epoxy grabs. Wrap masking tape firmly around the joint and hold position through the full cure time without disturbing it.
Step 4: Wrap the Joint with Thread for Reinforcement
Start wrapping the rod thread 1 inch past the break on one side and wind in tight, touching coils all the way across to 1 inch past the break on the other side. Cover at least 2 inches of blank on each side of the fracture point. Brush a thin epoxy coat over the finished wrap immediately.
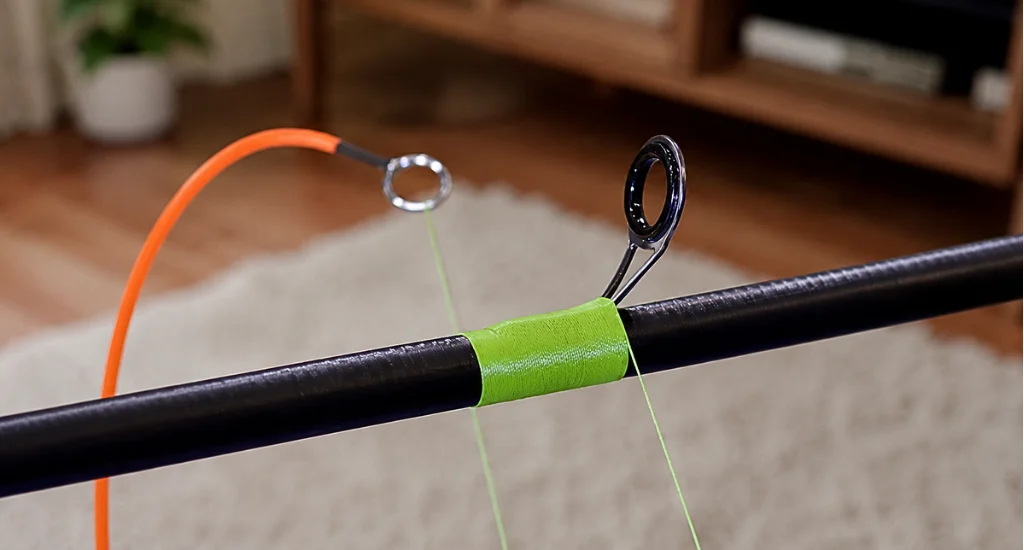
This thread layer is what separates a temporary fix from a lasting repair. I’ve seen these wraps hold for 5+ years on rods that fish hard every season. Allow the final epoxy coat a full 24-hour cure before putting the rod under any real load.
Method 2: Replacing a Broken Rod Tip
A broken tip is the fastest fix in all of rod repair, under 10 minutes from start to fish-ready. Every serious angler should carry a tip repair kit in their tackle bag at all times.
Step 1: Remove the Old Tip Top
Hold a lighter beneath the old tip top for no more than 3-5 seconds to soften the internal adhesive. Pull it free immediately with pliers while the cement is still pliable and hot. Exceeding 5 seconds risks scorching and weakening the rod blank material beneath.
Step 2: Fit and Set the Replacement Tip
Sand the exposed tip end clean with 220-grit paper and measure the diameter carefully to match your replacement. Heat the rod cement briefly with the lighter, apply it inside the new tip top, and slide it onto the blank while still hot.
Hold the guide ring perfectly aligned with all other guides for 30 seconds until the cement locks firmly.
Method 3: Replacing a Damaged Rod Guide
A cracked guide ring or loose wrapping never means the rod is finished — the blank is still completely sound. This repair follows a clean four-stage process that any angler can complete at home.
Step 1: Remove the Old Guide and Clean the Blank
Cut away old thread wrapping carefully with a craft knife, keeping the blade angled away from the blank surface at all times. Soften any stubborn adhesive with 2-3 seconds of lighter heat, then sand all remaining residue smooth with 220-grit paper before fitting the new guide.
Step 2: Position, Wrap, and Seal the New Guide
Press the new guide foot flat onto the blank and align it precisely with every other guide on the rod. Tape one foot temporarily with masking tape, then wind the thread tightly from outside in toward the guide ring in touching coils.
Finish by pulling the thread end under the last few coils, trim cleanly, then brush a full epoxy coat over the wrap. Rotate the rod slowly for 5 minutes to prevent drips, then allow full cure before fishing.
Is It Worth Repairing a Fishing Rod? (Repair vs. Replace)
Repairing a fishing rod makes financial sense when the fix costs under 30% of the replacement value. A basic kit runs $5-$15. Professional repair costs $25-$60. Any rod worth over $50 is worth fixing.
Sentimental value changes the calculation entirely. I’ve repaired 50-year-old family rods that no amount of money can replace. When a rod carries history, skip the math and fix it every single time without hesitation.
Skip the repair when the blank shows multiple cracks, when the break hits a ferrule on an ultra-light rod, or when the rod costs under $25 new. A replacement makes more sense in those cases.
Always check your warranty before buying materials. Many manufacturers offer lifetime warranties and replace broken rods for a small shipping fee. Contact them first; you may not need to repair anything at all.
End Note
A snapped rod is a setback, not a death sentence. With $15 in materials and 45 minutes of focused work, most breaks repair stronger than you’d expect.
Protect that repair long-term by learning proper high-sticking fishing techniques, rod angle under load causes more snaps than anything else on the water. Fix smart, fish smarter, and keep that rod in your hands where it belongs.
FAQs
Can a snapped fishing rod be repaired?
A snapped fishing rod can be repaired with a fiberglass splint and two-part epoxy. The fix takes 30-45 minutes. Most repaired rods hold up for years of regular use.
Is it worth repairing a fishing rod?
Repairing a fishing rod is worth it when repair costs stay under $15, and the rod is worth $50 or more. Factor in sentimental value. Check manufacturer warranties first.
Can you combine two damaged rods to repair?
You can combine two damaged rods if they share the same blank diameter and material. Cut each rod at a clean point above the damage. Splice them with a fiberglass dowel and epoxy. The result is a shorter but functional rod.
What glue is best for fixing a broken fishing rod?
The best glue for fixing a broken fishing rod is two-part epoxy. Use 30-minute epoxy for permanent repairs. Use rod cement for tip-top replacements. Avoid super glue alone. It is too brittle for rod flex.