A cracked or bent rod eye can completely ruin your fishing trip before it even starts. So, how do you fix fishing rod eyes without spending too much money? The good news is that you can repair them at home with simple tools.
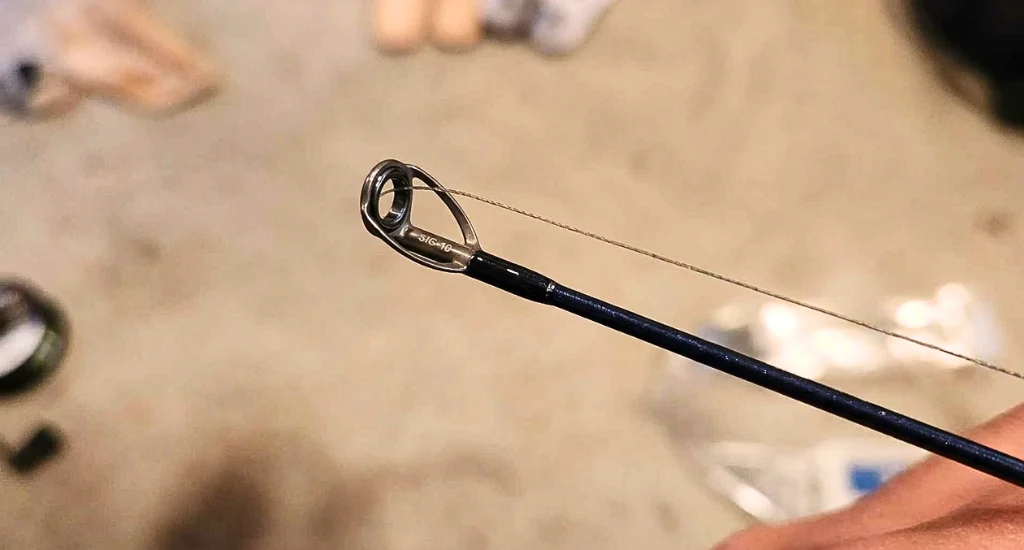
Most problems come from cracked ceramic inserts, bent metal frames, or a loose tip-top. A ceramic insert is the small ring inside the guide that the fishing line passes through. These parts wear out over time.
In this guide, you will learn how to repair or replace rod guides, understand the cost, and get all the steps needed to do the job right.
What Are Fishing Rod Eyes and Why Do They Matter
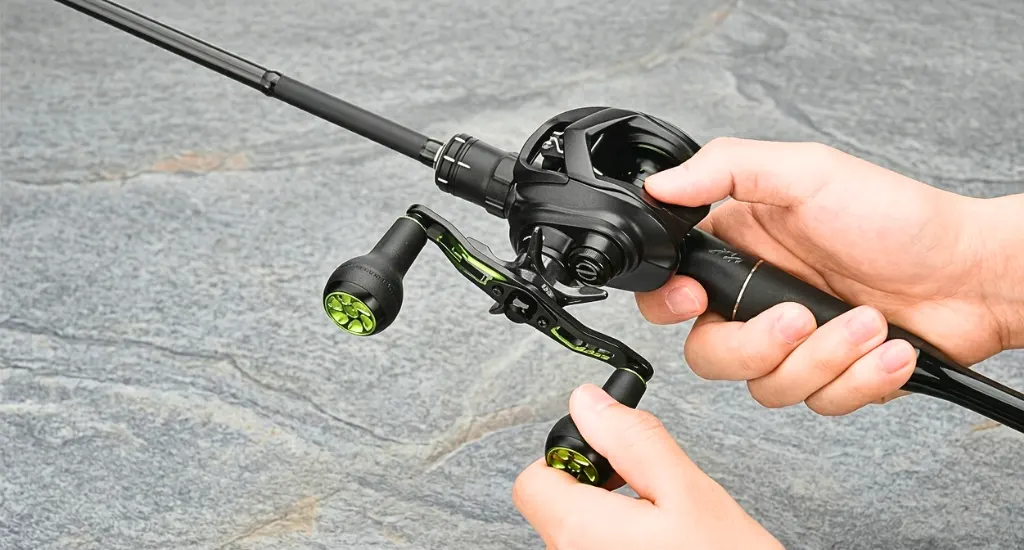
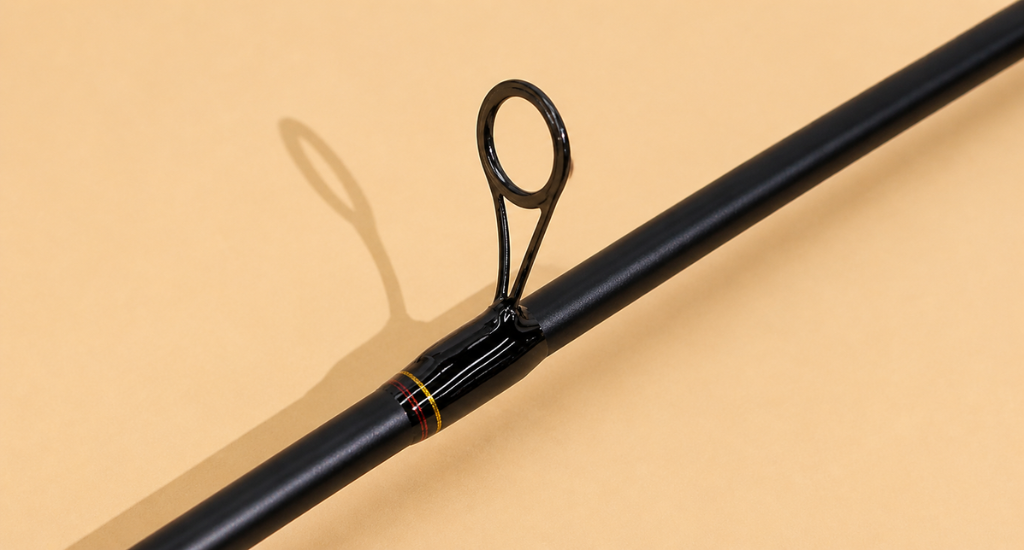
Fishing rod eyes, also called guides, are the small ring-shaped parts attached along the length of a fishing rod. The fishing line runs through all these rings from the reel to the tip.
These guides control where your fishing line goes during a cast. Good guides help you cast farther, protect your line from damage, and give you better control over the fish.
Common Problems With Fishing Rod Eyes
No matter what type of fishing rod you use, the rod guides face a lot of stress during regular use, and damage can show up in different ways over time.
- Broken or missing guide: The entire guide frame has snapped off or gone missing from the rod
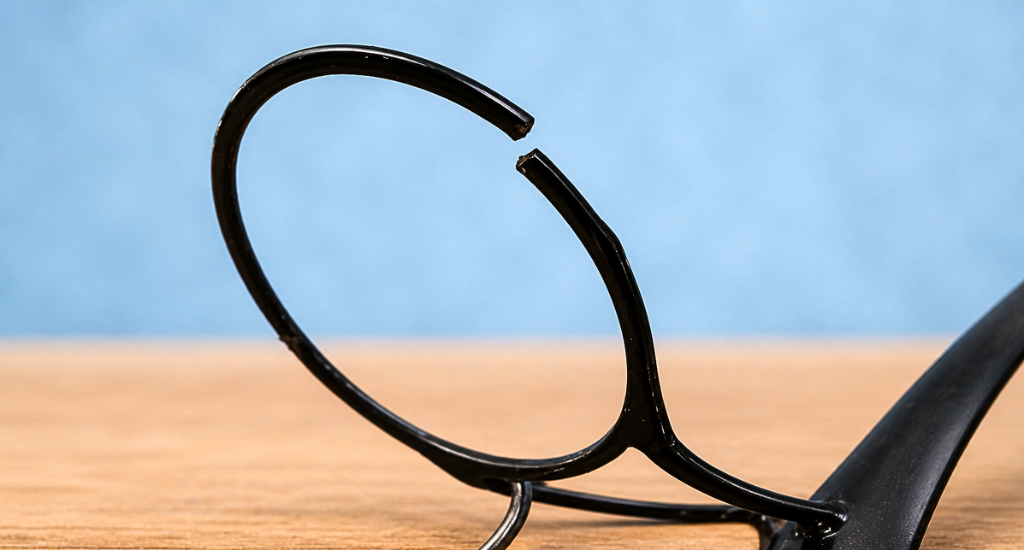
- Cracked ceramic ring: The inner ring has a crack that can cut and damage your fishing line
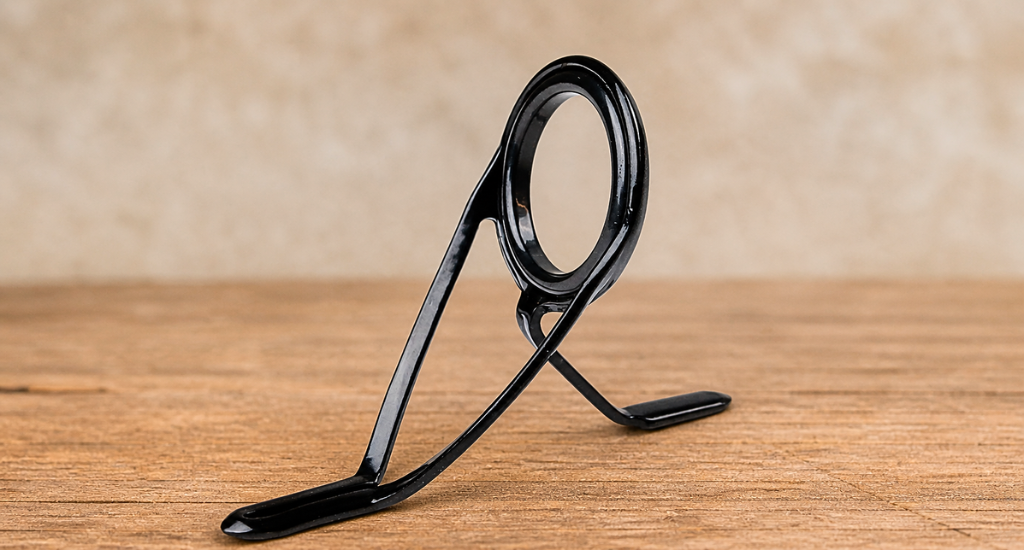
- Bent metal frame: The metal part holding the ring has bent out of its original shape
- Loose or detached tip-top: The guide at the very tip of the rod has become wobbly or fallen off
Should You Fix or Replace Fishing Rod Eyes?
Before you buy anything or pick up a tool, take a moment to look at the actual condition of your rod. The damage level will tell you the right path forward.
When Fixing Fishing Rod Eyes Makes Sense
A repair job is a smart move when the damage is small, and the rod itself is still in good shape.
- Minor cracks or a guide that has just come slightly loose
- Mid-range or expensive rods where the value justifies the repair cost
- Sentimental or custom rods that you do not want to throw away
When Replacing the Rod Is a Better Option
Sometimes the damage is too much, and a full replacement makes more practical sense.
- Cheap rods where the repair cost ends up higher than the rod’s actual price
- Multiple broken guides across different sections of the same rod
- Structural damage to the rod blank, which is the main rod body itself
How to Fix a Broken Eye on Fishing Rod (Step-by-Step Guide)
Replacing a guide along the rod body takes a little more time than a tip-top repair, but the process is very manageable for a beginner. Follow each step carefully to fix your fishing rod eye, and your rod will feel brand new.
Step 1: Remove the Broken Guide
Use a sharp blade to cut away the old thread that holds the damaged guide to the rod. This thread wrap, sometimes called whipping, must be fully removed before you can move forward.
Step 2: Clean and Prepare the Rod Blank
After the old guide is off, some glue or epoxy residue may stay on the rod surface. Sand or scrape the area gently until the surface feels smooth and clean for the new guide.
Step 3: Choose the Correct Replacement Guide
Try to match the size of the original guide as closely as possible. If the exact size is not available at the shop, one size up or one size down will usually work just fine.
Step 4: Position and Align the New Guide
Place the new guide on the rod and check that it lines up with all the other guides along the rod. Use a small piece of tape to hold it in a temporary position before you start the wrap.
Step 5: Wrap the Guide (Thread Wrapping)
Load your thread onto a spool and start wrapping it tightly around the base of the guide foot. Keep each wrap close to the previous one and make sure the entire base of the guide is fully covered.
Step 6: Apply Epoxy and Seal
Heat an epoxy stick gently and apply the epoxy over the thread wrap. Slowly rotate the rod as you apply it so the coating spreads out evenly all around. A quick second pass with light heat will smooth out any uneven spots.
Step 7: Let It Cure and Test
Leave the rod untouched for at least 12 to 24 hours so the epoxy can fully harden. Once it is dry, take the rod out for a short test cast to confirm the guide sits firm and the line flows smoothly.
How to Fix a Broken Tip-Top Eye (Fast Method)
The tip-top is the guide at the very end of your rod, and it takes the most pressure during every cast. Luckily, this repair is one of the fastest jobs you can do at home.
Step 1: Make a Clean Cut
Start by removing the damaged section of the rod tip with a fine-tooth hacksaw. Keep the cut straight and smooth, since an uneven edge can prevent the new tip-top from fitting properly.
Avoid applying too much pressure while cutting, as this can splinter the rod blank. After the cut, lightly sand the edge with fine sandpaper to remove rough spots. A clean, flat surface helps the adhesive bond better and keeps the tip-top aligned during installation.
Step 2: Remove the Old Tip
If part of the old tip-top is still attached, use gentle heat to loosen it. Hold a lighter or small heat source under the metal tip for a few seconds. The goal is to soften the old glue, not burn the rod.
Once the adhesive softens, pull the tip off carefully using pliers or by hand if it is loose enough. Do not twist too hard, since excess force can damage the rod blank. Clean off any leftover glue before moving to the next step.
Step 3: Install the New Tip-Top
Apply a small amount of heated glue stick or rod epoxy inside the tube of the new tip-top. Slide it onto the rod tip while the adhesive is still soft. Align the tip-top carefully so it matches the direction of the other guides along the rod.
This step is important because poor alignment affects casting accuracy and line flow. Rotate the rod slowly as you adjust the position, ensuring a straight and even fit before the adhesive begins to set.
Step 4: Secure and Cool
Hold the new tip-top firmly in place for about 30 to 60 seconds. Keep the rod steady during this time so the guide sets in the correct position. Even a slight movement can cause misalignment, which may lead to uneven line wear later.
Once the adhesive cools, check the alignment again by sighting down the rod. Allow the bond to fully cure before using the rod, which usually takes a few hours depending on the adhesive used.
How Much Does It Cost to Fix Top Eye on a Fishing Rod or Any Guide?
The total cost of fixing the top eye on a fishing rod depends on whether you do the job yourself or take the rod to a professional repair shop. Both options are far cheaper than buying a brand-new rod.
DIY Cost Breakdown
Repairing home saves the most money, and the tools are easy to find at any tackle or hardware store.
- Replacement guide: $2-$10 depending on size and material
- Epoxy and thread: $5-$15 for a basic repair kit
- Total DIY cost: roughly $10-$25 for a complete repair job
Professional Repair Cost
Taking your rod to a shop costs more, but a professional will handle the tricky parts for you.
- Per guide repair: $10-$20 at most local tackle shops
- Tip-top repair: $5-$15 for a simple replacement job
- Full re-guide service: $50-$100+ if all guides need to be replaced
Conclusion
Fixing fishing rod eyes is not as hard as it looks, and you do not need to be an expert to get it done. With the right steps and a few basic tools, you can repair most guide damage right at home and save a good amount of money.
Always try to repair your rod first before you decide to replace it entirely. A small crack or a loose guide is a very fixable problem, and a well-repaired rod can last you many more seasons on the water.