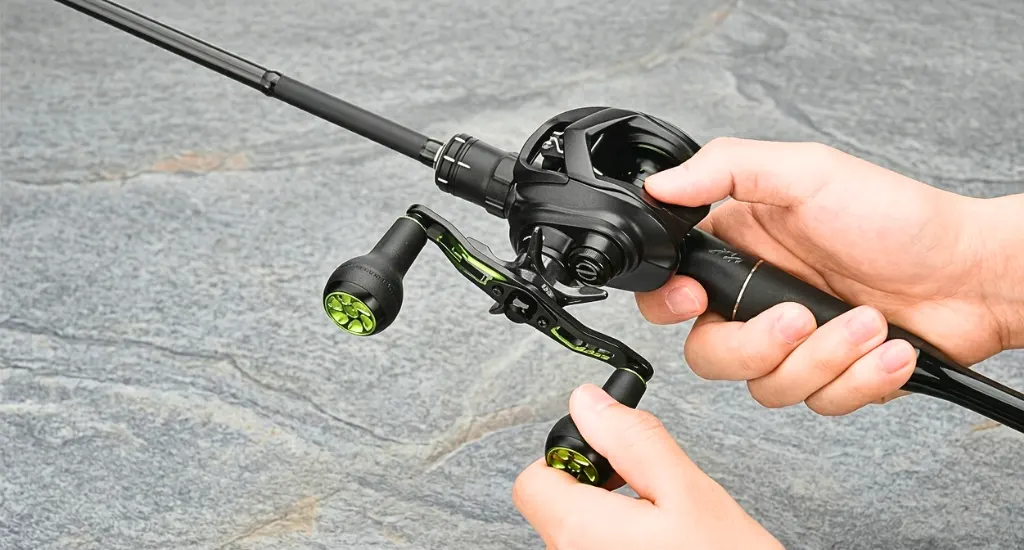
A broken fishing rod doesn’t always mean replacement; most issues can be fixed at home. But how to fix a fishing rod? You can do it by cleaning the damaged area, reinforcing it with wraps or inserts, and sealing it securely with epoxy or resin.
Fixing your rod yourself can save a significant amount of money compared to buying a new one, especially for minor issues like broken tips or loose guides. With just a few affordable materials, you can restore performance without sacrificing quality.
This guide will walk you through simple, step-by-step methods using basic tools and proven repair techniques. Whether it’s a snapped rod, damaged tip, or worn guide, you’ll learn exactly how to fix it.
Can You Fix a Fishing Rod? (What’s Repairable vs Not)
Most fishing rods, even if the fishing rods are under $100, including graphite and fiberglass models, can be repaired effectively with the right method. The success of a repair largely depends on where the damage occurs. Tips are easiest, while mid-section or handle damage requires stronger reinforcement techniques.
Types of Damage You Can Fix
Many common rod issues are repairable at home with simple tools and materials. Clean breaks and minor damage can often be restored without losing much performance if handled correctly and sealed properly.
- Broken tip
- Snapped rod (clean break)
- Loose or broken guides (eyelets)
- Damaged handle or reel seat
When Replacement Is Better
Some damage goes beyond practical repair, especially when the rod’s structural integrity is compromised. In these cases, even a well-done fix may not restore strength or reliability for safe fishing use.
- Multiple breaks
- Severe splintering
- Structural weakness after repair
Tools and Materials Needed to Fix a Fishing Rod
You don’t need many tools to fix a fishing rod effectively. Most repairs can be done with simple, affordable items. Using the right materials ensures durability, proper alignment, and a long-lasting repair that restores rod performance.
- Strong thread or wrapping thread: Used to tightly bind broken sections and secure guides during repair.
- Tape: Helps hold parts in place temporarily before applying permanent wraps or epoxy.
- Utility knife: Useful for trimming thread, removing old wraps, and cleaning damaged areas.
- Fine grit sandpaper: Smooths and straightens broken ends, removing splinters for proper alignment.
- Clear lacquer or rod resin: Seals, wraps, and repairs, adding protection and a smooth finish.
- Number 8 wire: Adds extra reinforcement when binding broken rod sections for improved strength.
- 30 lb braid line: Strong, thin material ideal for tight, durable wrapping around damaged areas.
- Two-part epoxy: Provides a strong, long-lasting bond that secures repairs under pressure.
- Nail polish: Quick, temporary sealant option for light repairs or finishing wraps.
- Replacement guides and tip tops: Essential for fixing damaged eyelets and restoring rod functionality.
- Hair dryer: Softens glue on tip-top guides, making removal easier without damaging the rod.
- Rod repair sleeve or spare rod section: Acts as internal or external support for broken rod shafts.
How to Fix a Broken Fishing Rod (Main Shaft Repair)
Fixing a broken rod shaft requires proper alignment, reinforcement, and sealing. With the right steps and materials, you can restore strength and usability, even after a clean break in the middle section.
Step 1: Prepare the Broken Area
Start by preparing both broken ends to ensure a clean and secure fit. Proper surface preparation improves bonding strength and alignment, which is critical for a durable repair.
- Gently sand both ends using fine-grit sandpaper.
- Remove splinters and cracks.
- Ensure straight, clean edges for proper alignment.
Step 2: Insert Support (Spigot Ferrule Method)
A spigot ferrule acts as internal support, which helps reconnect both rod sections securely. This method improves strength and keeps the rod aligned during casting and fighting fish.
- Use a piece from another rod as a spigot ferrule.
- Insert it evenly into both sides of the break.
- Ensure a tight fit for alignment and added strength.
Step 3: Bind the Broken Section (SERP Method)
Binding reinforces the repaired area and holds everything tightly in place. Proper wrapping prevents movement and adds structural stability to the rod during use.
- Wrap tightly using 30 lb braid or strong thread
- Optional: add a number 8 wire for extra reinforcement
- Keep wraps tight, even, and consistent throughout
Step 4: Seal and Strengthen
Sealing locks the repair in place and protects it from water and stress. A strong adhesive can ensure the rod holds up under pressure during fishing.
- Apply rod resin or two-part epoxy evenly.
- Use nail polish as a quick, temporary seal if needed.
- Allow full curing time for maximum durability.
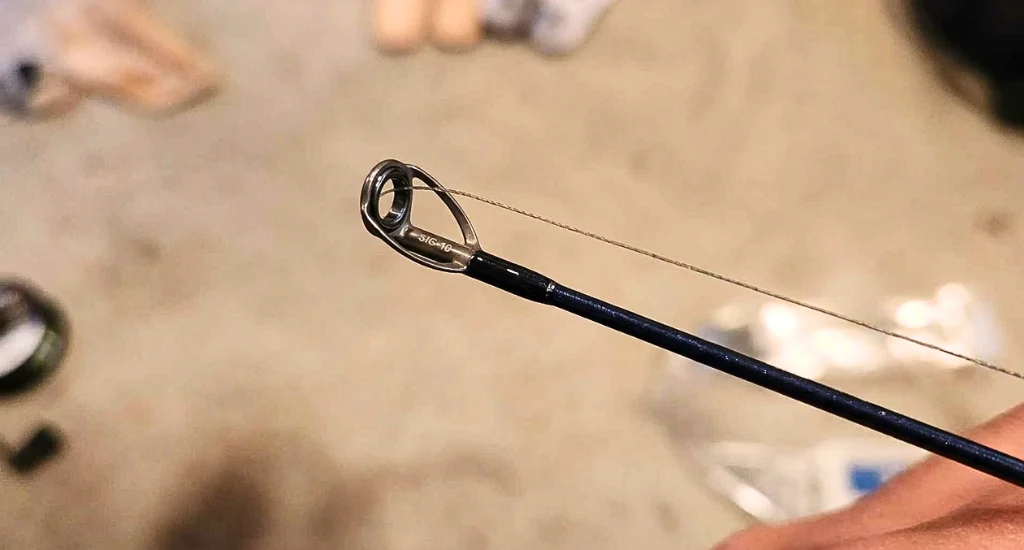
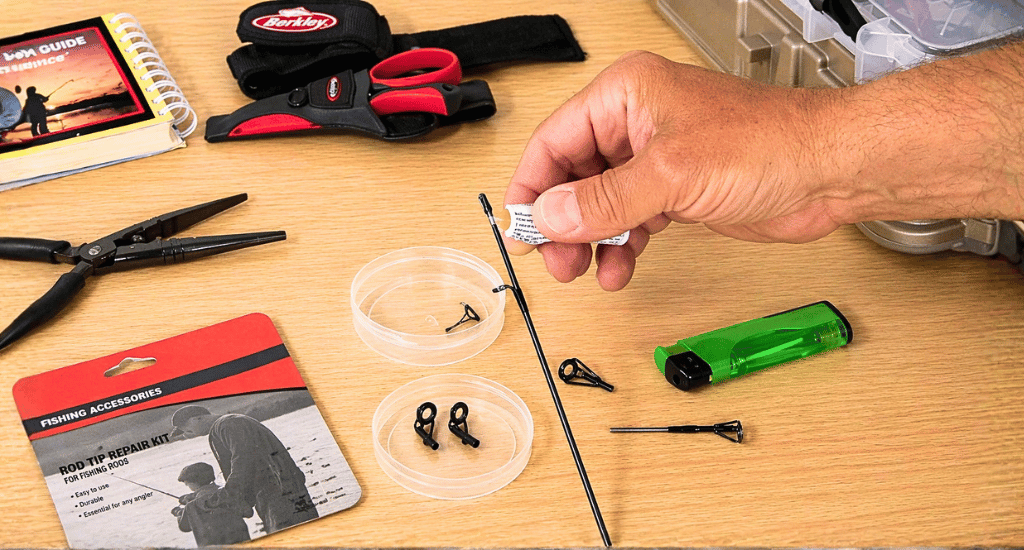
How to Fix a Fishing Rod Tip
To fix a broken fishing rod tip is one of the easiest and most common repairs. With minimal tools and proper alignment, you can quickly restore your rod’s performance and casting accuracy at home.
Step 1: Remove the Broken Tip
Start by removing the damaged tip-top guide carefully to avoid harming the rod blank. Heating softens the adhesive that makes the removal smooth and controlled without causing additional cracks or weakening the rod structure.
Step 2: Prepare the Rod End
Once the old tip is removed, prepare the rod end for a secure fit. A smooth, slightly roughened surface helps the adhesive bond properly. Also, it ensures that the new tip sits firmly in place.
Step 3: Install New Tip Top
Apply a small amount of glue or epoxy inside the new tip-top guide. Slide it onto the rod and align it carefully with the existing guides to maintain straight line flow and casting performance.
Step 4: Secure with Epoxy
Finish by applying two-part epoxy for a strong, lasting hold. You should let the adhesive cure completely before using the rod to ensure the repair remains stable under casting pressure and fish tension.
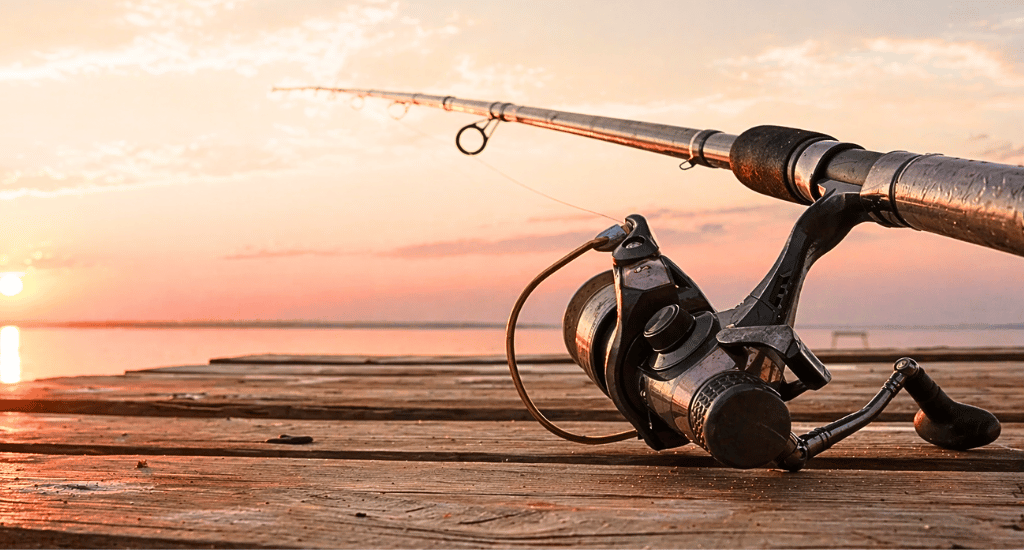
How to Fix a Fishing Rod Guide (Eyelet Repair)
Fishing rod guides, or eyelets, experience constant friction from fishing line and exposure to water, making them prone to damage. This is one of the most common issues, even if it’s the best downrigger fishing road. However, it’s easy to repair at home.
Step-by-Step Guide Replacement
Replacing a damaged guide is straightforward and restores smooth line movement. Careful wrapping and sealing ensure the new guide stays secure and performs properly during casting and retrieval.
- Remove old wrapping and damaged guide carefully.
- Position the new guide in the correct spot.
- Wrap tightly with a strong thread to secure it.
- Seal with epoxy or lacquer for durability.
Tips for Proper Alignment
Proper alignment is essential for performance and prevents unnecessary wear on your fishing line. Misaligned guides can reduce casting distance and damage the line over time.
- Ensure guides line up straight with the reel seat.
- Prevent line friction and uneven tension during casting.
- Double-check alignment before sealing with epoxy.
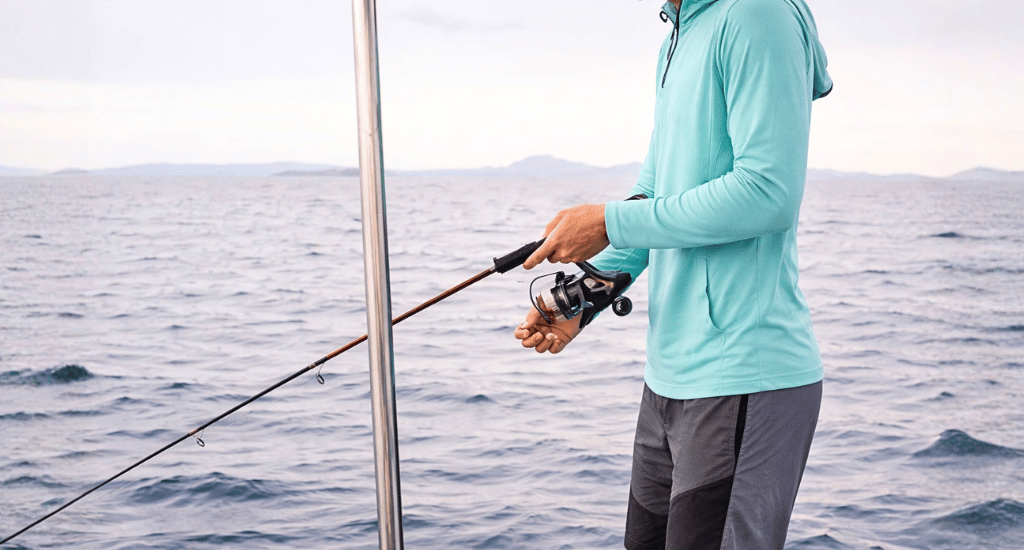
How to Fix a Snapped Fishing Rod (Heavy Damage Repair)
Repairing a snapped fishing rod requires stronger reinforcement methods than minor fixes. By adding internal or external support and sealing properly, you can restore usability while maintaining decent strength and performance.
Reinforcement Techniques
Heavy damage needs added support to reconnect and stabilize the rod. Internal and external reinforcement methods help distribute stress, making the repair strong enough for continued use under moderate fishing pressure.
Spigot ferrules act as internal supports inserted into both ends, while external sleeve methods wrap around the break, strengthening the joint and improving durability without completely restoring original flexibility.
Using a Rod Repair Sleeve
A rod repair sleeve is a simple and effective way to fix snapped sections. It reinforces the outer area, making the rod usable again while protecting the damaged spot from further stress.
Slide the sleeve over the broken section, secure it with epoxy, and let it cure fully. This method adds durability, though it may slightly reduce flexibility and sensitivity during use.
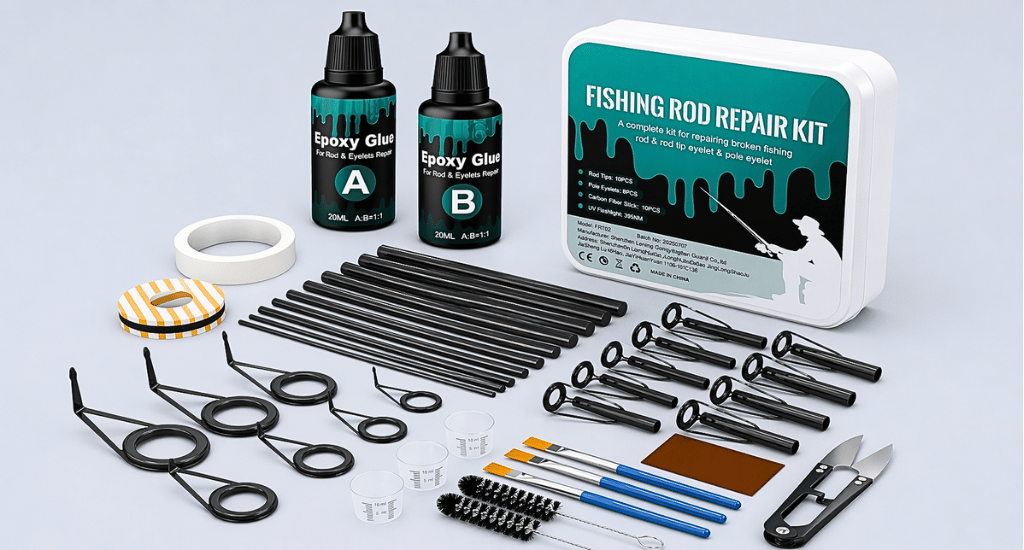
Fishing Rod Repair Kits: Are They Worth It?
Fishing rod repair kits provide essential tools and materials for common fixes. They are very convenient for at-home repairs. Most kits are designed to handle tip, guide, and minor rod damage efficiently.
- Tip repair kit for quick tip replacement.
- Epoxy for strong, long-lasting bonding.
- Replacement guides for fixing damaged eyelets.
When to Use a Kit
Repair kits are ideal when you need a simple, all-in-one solution without sourcing individual tools. They’re especially helpful for quick fixes and routine maintenance.
- Beginners who want an easy, guided repair process.
- Quick repairs when time or tools are limited.
Conclusion
A broken fishing rod doesn’t have to end your fishing trip. With simple tools like thread, epoxy, and sandpaper, most repairs from snapped rods to damaged tips can be handled at home with solid results.
You should focus on proper preparation, tight wrapping, and strong sealing. Done right, your repaired fishing rod can perform almost like new and save you the cost of replacement.