A faulty reel can ruin a perfect fishing moment in seconds. Many anglers face stiff handles, loose parts, or uneven line flow after regular use. These issues feel frustrating and often appear without warning.
Many people ask how to repair a fishing rod reel without professional help or expensive tools. The answer is simple: clean the parts, check for damage, apply proper oil, and replace worn pieces when needed.
This guide explains fishing rod reel repair in simple steps. You will learn common problems, easy fixes, and smart care tips.
Why Fishing Reel Problems Happen
Fishing reels face stress during every trip, and small issues build up over time, no matter what size of fishing reels you use. Many problems start with simple habits, poor care, or heavy use that slowly weaken important internal parts.
- Saltwater vs Freshwater Damage: Saltwater leaves behind corrosive residue that damages metal parts quickly, while freshwater causes less harm. Without rinsing, salt exposure can reduce reel lifespan by around 30-50 percent.
- Lack of Regular Maintenance: Dirt, sand, and old grease collect inside gears and moving parts over time. Many anglers service reels once per year, but experts suggest maintenance every three to six months.
- Wear and Tear on Internal Parts: Gears, bearings, and drag washers lose strength with regular use and pressure. Bearings often start losing smooth performance after roughly 100 to 200 hours of active fishing time.
- Incorrect Use or Overloading: Light reels struggle when used for large fish, which puts extra stress on internal components. Drag systems often fail when pushed beyond about 70 to 80 percent of capacity.
Step-by-Step Fishing Rod Reel Repair Guide
A clear repair process helps you fix reel problems without confusion or mistakes. Follow each step with care, use simple tools, and stay patient while handling small parts during fishing rod reel repair.
Step 1: Disassemble the Reel Carefully
Start by opening the reel slowly with the correct screwdriver size. Place each screw and part in order to avoid mix-ups later during reassembly.
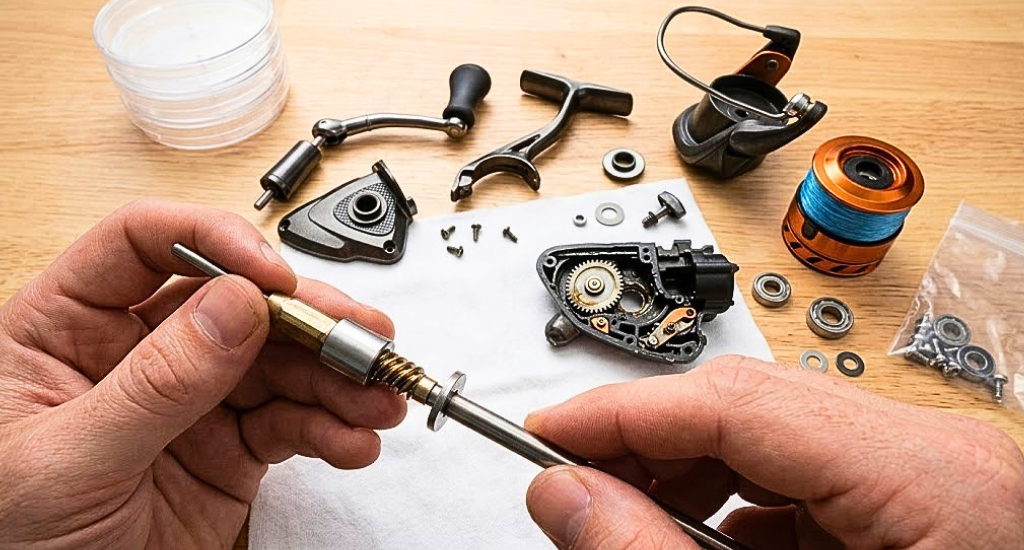
Take clear photos at each stage so you remember the exact position of parts. This step helps you rebuild the reel correctly without guessing or forcing pieces.
- Use a clean surface to avoid losing small parts
- Keep screws and springs grouped based on position
Step 2: Clean All Components
Remove visible dirt, old grease, and any salt residue from all parts. Use a soft brush and cleaning liquid to reach tight spaces inside the reel body.
Metal parts may need soaking when dirt feels hard or stuck. Leave them in cleaning solution for about five to ten minutes, then wipe them dry.
- Use isopropyl alcohol or reel cleaner for better results
- Avoid water on sensitive parts like bearings unless fully dried later
Step 3: Inspect for Damage
Check each part closely for signs of wear, cracks, or rough edges. Focus on gears, bearings, and drag washers since they control smooth reel performance.
Replace any damaged part immediately to avoid bigger issues during use. Small faults often lead to major failures if ignored during fishing rod and reel repair.
- Spin bearings gently to check smooth motion
- Look for chipped gear teeth or worn drag surfaces
Step 4: Lubricate Moving Parts
Apply reel oil to bearings so they spin smoothly without resistance. Use grease on gears to reduce friction and protect them under load.
Do not add too much oil or grease because excess buildup attracts dirt. A small amount placed correctly works better and keeps the reel clean.
- One drop of oil per bearing is enough
- Spread grease lightly across gear teeth
Step 5: Reassemble and Test
Put the reel back together by following the reverse order of disassembly. Use your photos as a guide to place each part in the correct position.
After assembly, test the reel by turning the handle and adjusting the drag. Smooth motion and steady drag pressure show that the repair was successful.
- Check for unusual noise or stiffness
- Adjust the drag to ensure proper tension control
Common Fishing Reel Problems and Quick Fixes
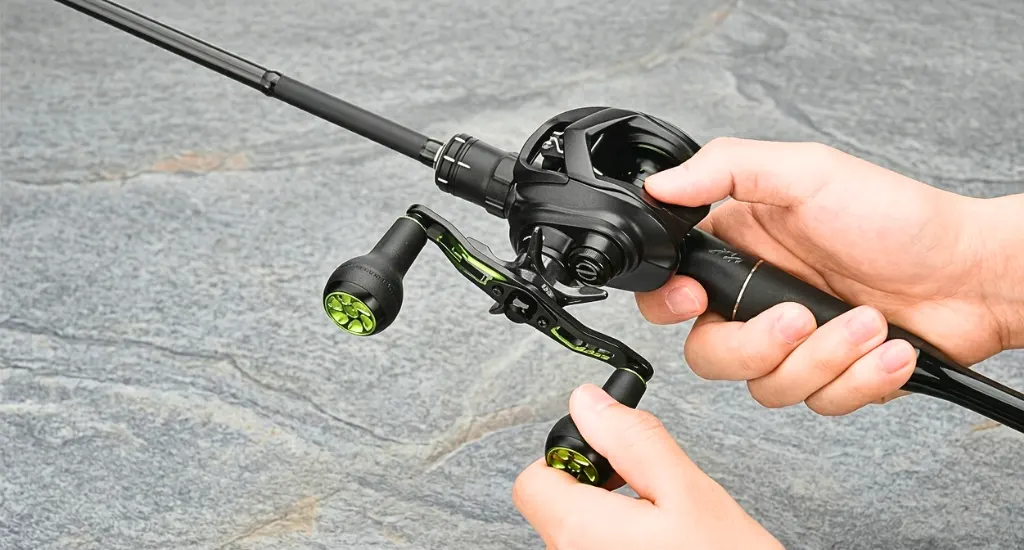
Issues often appear while using your fishing reels with an anti-reverse trigger or without it to affect casting, control, and smooth movement. Most problems have simple causes and quick fixes that you can handle at home with basic tools and careful steps.
Reel Handle Not Turning Smoothly
A stiff handle usually comes from dirt, worn gears, or dry bearings inside the reel. Clean internal parts and add light oil to bearings. Proper lubrication can improve performance by about 20 to 40 percent.
- Cause: Dirt, worn gears, or dry bearings
- Fix: Clean parts and apply light oil to bearings
Drag System Slipping
A weak drag system fails to hold tension when a fish pulls the line. This issue often comes from worn washers or poor adjustment inside the reel.
Replace damaged drag washers or adjust the tension setting correctly. A good drag should stay around 25 to 30 percent of your line strength for steady control.
- Cause: Worn drag washers or poor adjustment
- Fix: Replace washers or reset drag tension
Line Not Spooling Correctly
An uneven line on the spool can cause casting trouble and line tangles. This usually happens due to a misaligned spool or twisted line.
Remove the line and spool it again with steady tension while checking alignment. Make sure the bail sits properly so the line lies evenly across the spool.
- Cause: Misaligned spool or twisted line
- Fix: Re-spool evenly and check bail alignment
Reel Making Grinding Noise
A grinding sound inside the reel often means sand or debris has entered the gear system. This noise signals internal friction that can damage parts over time.
Open the reel, clean all internal components, and remove any dirt completely. This step restores smooth movement and prevents further wear during fishing rod reel repair.
- Cause: Sand or debris inside gears
- Fix: Full cleaning after disassembly
Bail Not Closing Properly
The bail may fail to close due to a weak spring or slight misalignment. This problem affects line control and slows down smooth casting.
Check the spring and replace it if it feels weak or loose. Tighten nearby screws and adjust alignment so the bail snaps back into position correctly.
- Cause: Weak spring or misalignment
- Fix: Replace the spring or tighten the screws
When to Repair vs Replace Your Fishing Reel
A clear decision saves money and avoids future trouble with your reel. Check the damage level, repair cost, and overall condition before you decide on the next step during fishing rod and reel repair.
When Repair Makes Sense
Small issues like dry bearings, loose springs, or minor wear are easy to fix. Repair works best when the cost stays under about 30 to 40 percent of the reel price.
Simple fixes restore smooth performance and extend the life of your reel. Many anglers handle these repairs at home with basic tools and a little patience.
When Replacement Is Better
Severe gear damage often affects the core function of the reel and reduces reliability. A cracked body or bent frame also weakens the structure and creates long-term problems.
These issues cost more to fix and may fail again after repair. In such cases, a new reel gives better value and consistent performance.
Cost Comparison
Repair costs depend on the type of issue and the method used. Simple fixes at home usually cost between $10 and $30, which makes them affordable for most users.
Professional repair services may cost around $30 to $80 based on complexity. A new reel can range from $50 to $300 or more, depending on quality.
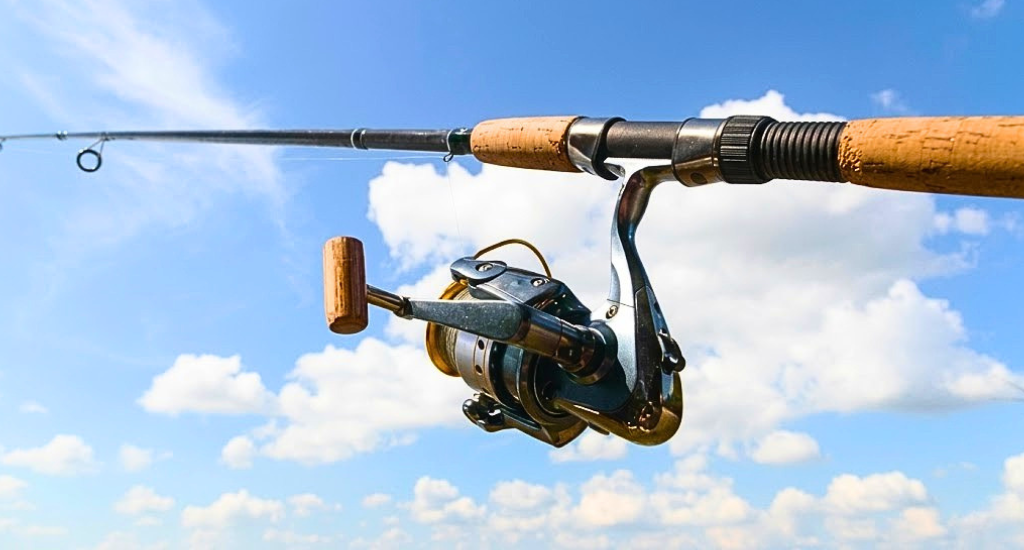
Fishing Rod and Reel Combo Issues (Bonus Section)
Some problems come from how the rod and reel work together during use. Small alignment issues or loose parts can affect casting, control, and smooth line movement in fishing rod repair and loose reel seat cases.
Loose Reel Seat
A loose reel seat makes the reel shift during use and reduces control. Tighten the reel seat firmly, or replace it if the threads feel worn or damaged.
- Check locking rings for proper grip
- Replace the seat if it cannot hold the reel steady
Misalignment Between Rod and Reel
Misalignment causes uneven line flow and poor casting distance. This happens when the reel does not sit straight or the rod guides do not line up properly.
Adjust the reel position and confirm that the guides form a straight path. A proper setup improves accuracy and reduces stress during fishing rod reel clamp repair.
- Align the reel foot correctly inside the seat
- Check guide placement along the rod
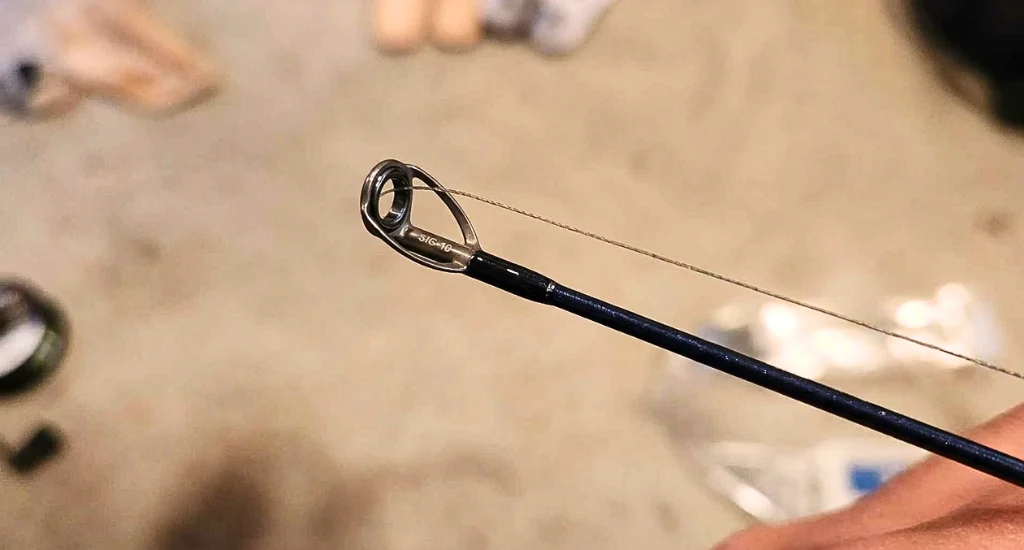
Line Friction Issues
Line friction slows casting and causes uneven movement across the spool. This issue often starts with damaged guides or poor spool alignment.
Inspect each guide for cracks or rough edges, then check spool position. Smooth line flow helps prevent wear and improves overall reel performance.
- Replace damaged guides if needed
- Ensure the spool sits evenly without tilt
End Note
Fishing reel problems feel frustrating, but most issues have simple fixes with the right steps. Regular care, proper use, and quick action help extend reel life and improve performance during every fishing trip.
Start with small repairs, build confidence, and replace parts only when needed. A well-maintained setup supports smoother casting and better control, making every fishing moment more reliable and enjoyable.